Short Cuts #1. Making a Freeze Frame in Lightworks
By David Winter
Jun 2, 2023
1 minute read
Sign up For the LWKS Newsletter
Get Video Editing Tips, Tricks, and Guides Straight to Your Inbox
Dark
Light
Contents
Making a Freeze Frame in Lightworks
Hello and welcome to Short Cuts, your weekly video from Lightworks where we throw a 2-minute timer up on the clock and show you how to do something cool inside your Lightworks video editing software. This week we’re going to show you how to do a…. Freeze frame in Lightworks.
A freeze-frame is pretty much what it sounds like. You freeze on a single frame of your footage, effectively turning it into an image, and hold that for as long as you want. So, without further ado, let’s hop into Lightworks, get our two-minute timer going, and show you exactly how this is done.
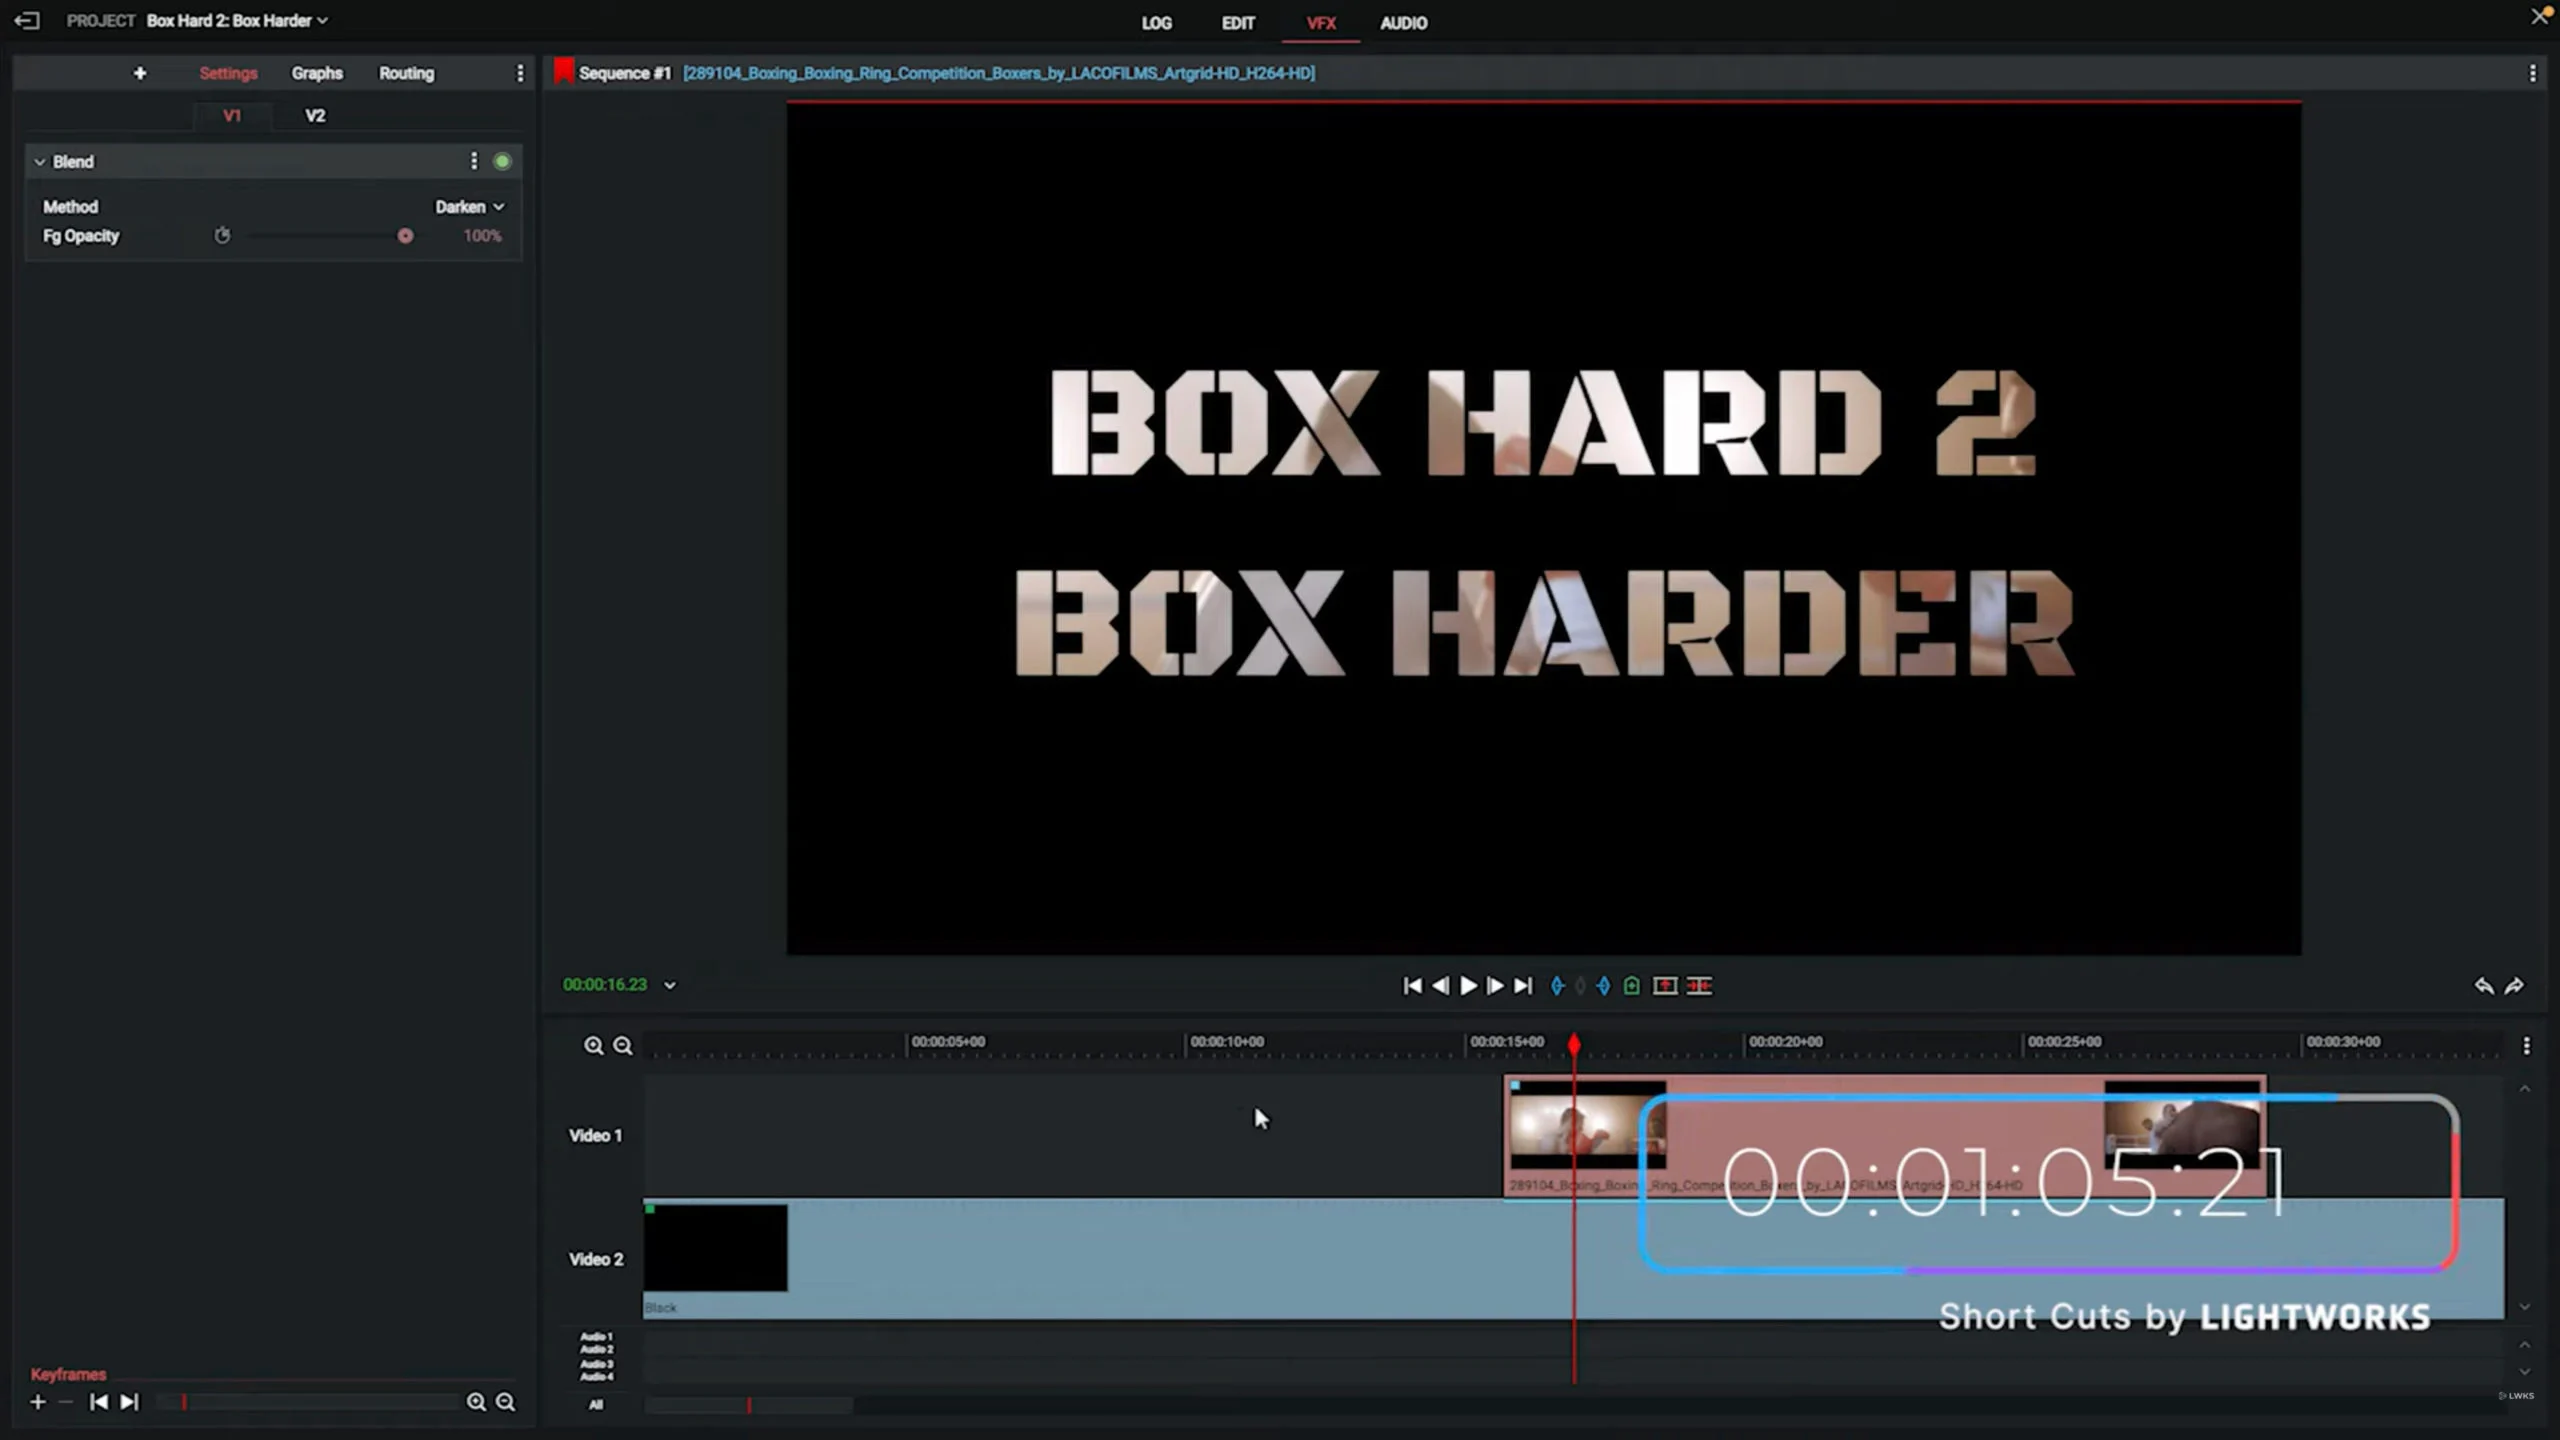
Inside Lightworks, put your playhead to where you want to have your freeze frame and hit the C key to make a cut. Press right on your keyboard to move forward a single frame, and then hit C again. Now that we’ve made these cuts, you have effectively isolated the frame, but it is still a video frame.
Move the piece of footage after your frame out of the way, and then right-click on the frame. Click speed, set it to 0%, and then click apply. This has now frozen your frame, effectively turning it into an image. You can now drag the right-hand edge of your frame along to make it as long as you want.
There you go. We’ve successfully frozen a frame. Give it a go yourself and let us know how you get on.
Don't forget to check out other Lightworks video editing guides, hacks, and tutorials at our little home on YouTube right here (and if you like them, like them and subscribe it's a massive help!)
.png)