Get Video Editing Tips, Tricks, and Guides Straight to Your Inbox
In video editing, cuts and transitions are not just tools but also the paintbrushes of visual storytelling. This comprehensive guide dives deep into the different types of cuts commonly used within video editing and will illuminate how strategic cuts can create emotion, pace, and narrative depth. As we explore these techniques, we'll also introduce Lightworks, the video editing software that empowers both beginners and pros to weave compelling visual tales.
The term "cut" in film editing originates from the early days of cinema when film editing involved cutting the physical film rolls to make an edit. The phrase stuck around, however, and remained the preferred parlance even as the transition to digital editing took place.
Simply put, in the current day, a cut is when you make one shot end and another begin. It's the invisible thread that weaves the narrative fabric of a film. However, a cut is more than just a technical transition; it's a decision that affects your story's rhythm, mood, and information flow.
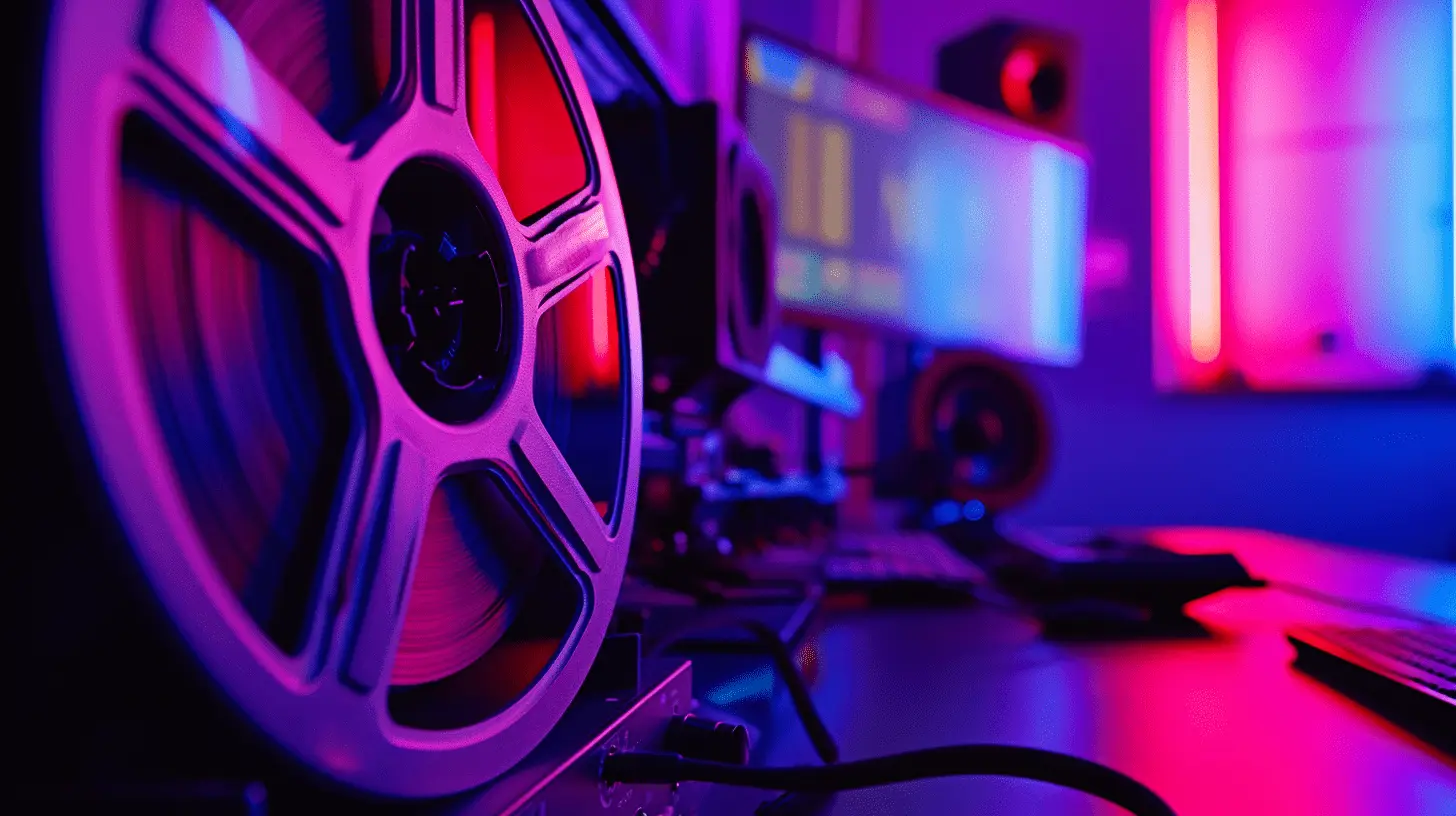
.webp?width=1920&height=1080&name=Film%20Frame-min%20(1).webp)
Film Reel Waiting to be Cut. Photo by Immo Wegmann on Unsplash
Cuts are the essence of film grammar. They guide the viewer's attention, establish relationships between scenes and characters, and build the overall tempo of the narrative. Think of cuts as punctuation in a sentence; how you apply it can drastically change the tone of what you’re saying!
What It Is: The standard cut simply cuts from one shot to another. In your timeline, this is where one clip ends and another immediately starts. No special techniques, no overlaps - just a clean, direct switch.
Application: In Lightworks, you place two clips next to each other on the timeline. The point where the first clip ends and the second begins is your standard cut.
What It Is: A jump cut is when you cut in an intentionally jarring way, whether in the same shot to make the subject appear to jump from one position to another or to an entirely different shot. Generally, good editing is about hiding your cuts so they go unnoticed, but a jump cut is an excellent example of breaking the rules to your advantage. Used correctly, they can make a dramatic jump forward in time, shock the audience through a sudden change or reveal, or shake up your storytelling's flow.
Application: On your timeline, take a single continuous clip. Cut out a small section in the middle and combine the remaining parts, or insert a dramatically different scene or shot entirely. This gives the impression that time has skipped or jumped forward or a dramatic change has happened.
What They Are: These cuts are about handling audio and video transitions smoothly. A J Cut is when the audio from the next scene starts playing before the video cuts to it. An L Cut is when the video cuts to the next scene, but the audio from the previous one continues to play.
Application: For a J Cut, overlap the audio track of your following clip underneath the end of your current video clip. For an L Cut, extend the audio track of your current clip into the following video clip.
What It Is: This technique is where you cut from one shot to another while the subject is in the middle of an action, making the transition less noticeable.
Application: For example, if someone opens a door, you would cut to a different angle in the middle of the action (like when the hand is on the doorknob). Align these action points on your timeline for a smooth transition.
What It Is: A match cut transitions from one shot to another by matching a composition, action, or subject. It draws a symbolic connection between the two scenes.
Application: Place two different clips next to each other on the timeline where there’s a visual or thematic similarity, like matching the position of a subject in both frames.
What It Is: A smash cut is a sudden, abrupt cut, often leading to a completely different scene, used for surprise or dramatic effect.
Application: On your timeline, this would be a sudden switch from one clip to another with no transition, typically from a quiet or calm scene to a loud or intense one.
What It Is: This technique involves cutting between two or more scenes happening simultaneously but in different locations.
Application: On your timeline, alternate clips from different scenes, showing the progression of each scene in parallel.
What It Is: A montage is a series of shots edited to condense space, time, and information.
Application: Assemble various clips in a sequence on your timeline to quickly show the passage of time or a series of events. Often set to music. You can find some good examples here: LWKS Blog: 5 of the Best Movie Montages (That Aren’t from Rocky)
What It Is: An invisible cut is hidden within a scene to make it seem like a continuous shot.
Application: This could be done by cutting between two shots at the moment of a quick camera movement or a momentary obstruction (like someone walking past the camera). Quite often, when a long scene is attempted in one take, you will find that moments are planned where something obscures the camera long enough that they could hide a cut if they cannot capture the entire scene in an actual single take.
Take, for example, the much-lauded single-take hallway fight in Daredevil Season 01
At 00:44, a door closes, leaving the screen temporarily black. The filmmakers say they did manage to capture the entire fight in a single take in the end. Still, they weren’t 100% sure it could be done, so moments like the closed door would have allowed for a hidden cut if they hadn’t succeeded.
What They Are: Cutaways are shots that temporarily move away from the main action to show something else, which can provide additional context or highlight a character's reaction. On the other hand, inserts are close-up shots of objects or details within a scene.
Application: In editing, a cutaway might show a listener's reaction during a conversation. Place this shot on your timeline between the primary action shots. Inserts focus on a specific element, like a close-up of a hand writing a letter. These should be placed where highlighting the detail is relevant to the narrative or emotional context.
Transitions in video editing are much more than mere bridges between scenes. They are powerful storytelling tools that, when used effectively, add depth and dimension to the narrative. Transition techniques vary from subtle to bold, each with emotional and visual impact. Understanding and mastering these techniques is crucial for any editor, as they guide the viewer's experience and emotional journey through the narrative.
Narrative Flow: Transitions are essential in maintaining the narrative flow, ensuring the story moves smoothly from one scene to the next without jarring the audience.
Emotional Impact: How scenes change can significantly affect the viewer's emotional response. For instance, a gradual fade might evoke a sense of nostalgia, while a sharp cut can increase tension.
Pacing: Transitions help in controlling the pacing of the film. Faster transitions can speed up the narrative, while slower ones can offer a moment of reflection or highlight a change in time or mood.
Visual Style: The choice of transitions can also contribute to the film’s overall aesthetic, defining a unique visual style that complements the story and genre.
A dissolve is a transition where one shot gradually fades into another. It often symbolises the passage of time or a shift in location.
A wipe is when one shot travels across the screen to replace another. It can be a straight line, a circle, or any shape.
Fades involve a scene fading to black or white (fade out) or a new scene emerging from black or white (fade in). They often indicate the end of a scene or a significant time lapse.
Flash cuts are brief, rapid cuts that can create a jarring effect. Subliminal cuts are similar but are so quick that they're barely registered by the viewer, often used to create a subconscious impact.
Each technique offers a unique way to enhance your video projects' storytelling and emotional impact. Understanding and practising these methods will significantly improve your editing skills and help you create more engaging and dynamic content. Remember, the key to effectively using these techniques is subtlety and purposeful application in the context of your story.
-min.webp?width=640&height=561&name=matthew-moloney-KNniBgCI_yY-unsplash%20(3)-min.webp) Close-up of film stock, photo by Matthew Moloney
Close-up of film stock, photo by Matthew Moloney
Purposeful Editing: Every cut in a film should have a deliberate purpose. This could be as straightforward as advancing the plot or as nuanced as highlighting a character’s internal conflict. How a scene is cut can reveal or conceal information, thereby controlling the audience's engagement and understanding of the story.
Character Development: Cuts can be instrumental in developing characters. For example, a series of quick cuts might depict a character's frantic state of mind, while longer, lingering shots might suggest contemplation or sadness.
Symbolism and Themes: Sometimes, how scenes are cut together can symbolise thematic connections, such as cutting between scenes of disparity to highlight social issues.
Emotional Timing: The timing of a cut can significantly impact the emotional weight of a scene. A delayed cut in a tense moment can heighten suspense. In contrast, a premature cut might leave the audience unsettled or surprised.
Impact on Mood and Pace: The type of cut chosen can drastically alter the mood and pacing of a scene. Rapid cuts can create a sense of urgency and chaos, ideal for action sequences, while slower cuts can be used for dramatic or emotional scenes, allowing the audience to soak in the atmosphere.
Narrative Clarity vs. Ambiguity: Deciding when and where to cut can clarify or obscure the narrative. Strategic cuts can create mystery or ambiguity, leaving room for interpretation, whereas clear-cut transitions provide straightforward storytelling.
Genre-specific Editing: Different genres often call for different editing styles. For instance, comedies may use quick and abrupt cuts for comedic timing, while horror films might use slow, creeping zooms to build tension.
Cuts as Storytellers: Sometimes, what is not shown is as important as what is. The omission of certain visuals through cutting can leave room for imagination, making the unseen just as powerful as the seen.
Understand the Rhythm: Editing rhythm is crucial in storytelling. Pay attention to the length of each shot and how these lengths contribute to the overall feel of the scene. A faster rhythm can create excitement or tension, while a slower rhythm can be used for more emotional, contemplative scenes.
Match Eyelines: Consistent eyelines maintain the illusion of a real conversation and help the audience follow the dialogue more naturally. This involves ensuring characters look off-camera in the correct direction maintaining the illusion of eye contact. If a character is talking to someone on their left, cutting to a shot where they are looking right will be immersion-breaking. Of course, sometimes this simply can’t be helped in the edit if the wrong footage was captured on the shoot.
Use Cutaways Wisely: Cutaways should be used to enhance the scene, not distract from it. They can provide necessary information, show reactions, or add depth. Still, they should always feel like a natural part of the scene.
Consider the 30-Degree Rule: To avoid disorienting the viewer, when cutting between different shots of the same subject, change the camera angle by at least 30 degrees. This helps differentiate the shots and maintain spatial awareness.
Vary Shot Lengths: Mixing up the duration of your shots can keep the audience engaged. Too many long shots can make a scene drag, while too many short shots can feel jarring.
Use Natural Transitions: Sometimes, the best transitions are motivated by the scene itself, like a character moving from one room to another or a car driving off-screen.
Overcutting: While rapid cuts can be effective, overdoing it can lead to a loss of coherence in the scene. Finding a balance that serves the narrative without overwhelming the viewer is essential.
Ignoring Continuity: Continuity errors, such as props that move between shots or inconsistent lighting, can distract viewers. Pay close attention to these details during shooting and editing.
Misusing Transitions: Avoid overusing elaborate transitions, as they can detract from the content. Most of the time, superficial cuts or dissolves are more effective and less distracting.
Forgetting the Audience's Perspective: Always edit with the viewer in mind. This means considering how they will perceive the pacing, the storyline, and the characters' development throughout the film.
Neglecting Audio Cues: Audio editing is just as necessary as visual editing. Refrain from discarding the audio aspect to avoid a disjointed and unprofessional final product.
Lightworks is designed to streamline the editing process. Its intuitive interface allows for easy application of various cuts and transitions, making complex techniques accessible to all skill levels.
Lightworks boasts advanced colour correction, real-time effects, and multicam editing. Its robust platform supports high-quality formats and resolutions, catering to professional standards while remaining user-friendly for beginners. Best of all, you can get started for free! Check it out at lwks.com/pricing
Editing is an art, and every cut you make contributes to the canvas of your story. Remember, practice is key. Experiment with these techniques; be bold and try something new. With tools like Lightworks, the potential to craft compelling narratives is at your fingertips.
For deeper dives into editing techniques and Lightworks tutorials, visit Lightworks Resources. Enhance your skills, discover community insights, and bring your creative visions to life.
Transform your video editing journey with Lightworks. Whether crafting a short film, a documentary, or a personal vlog, Lightworks gives you the tools to tell your story your way. Download now and embark on your path to becoming a master storyteller.