Get Video Editing Tips, Tricks, and Guides Straight to Your Inbox
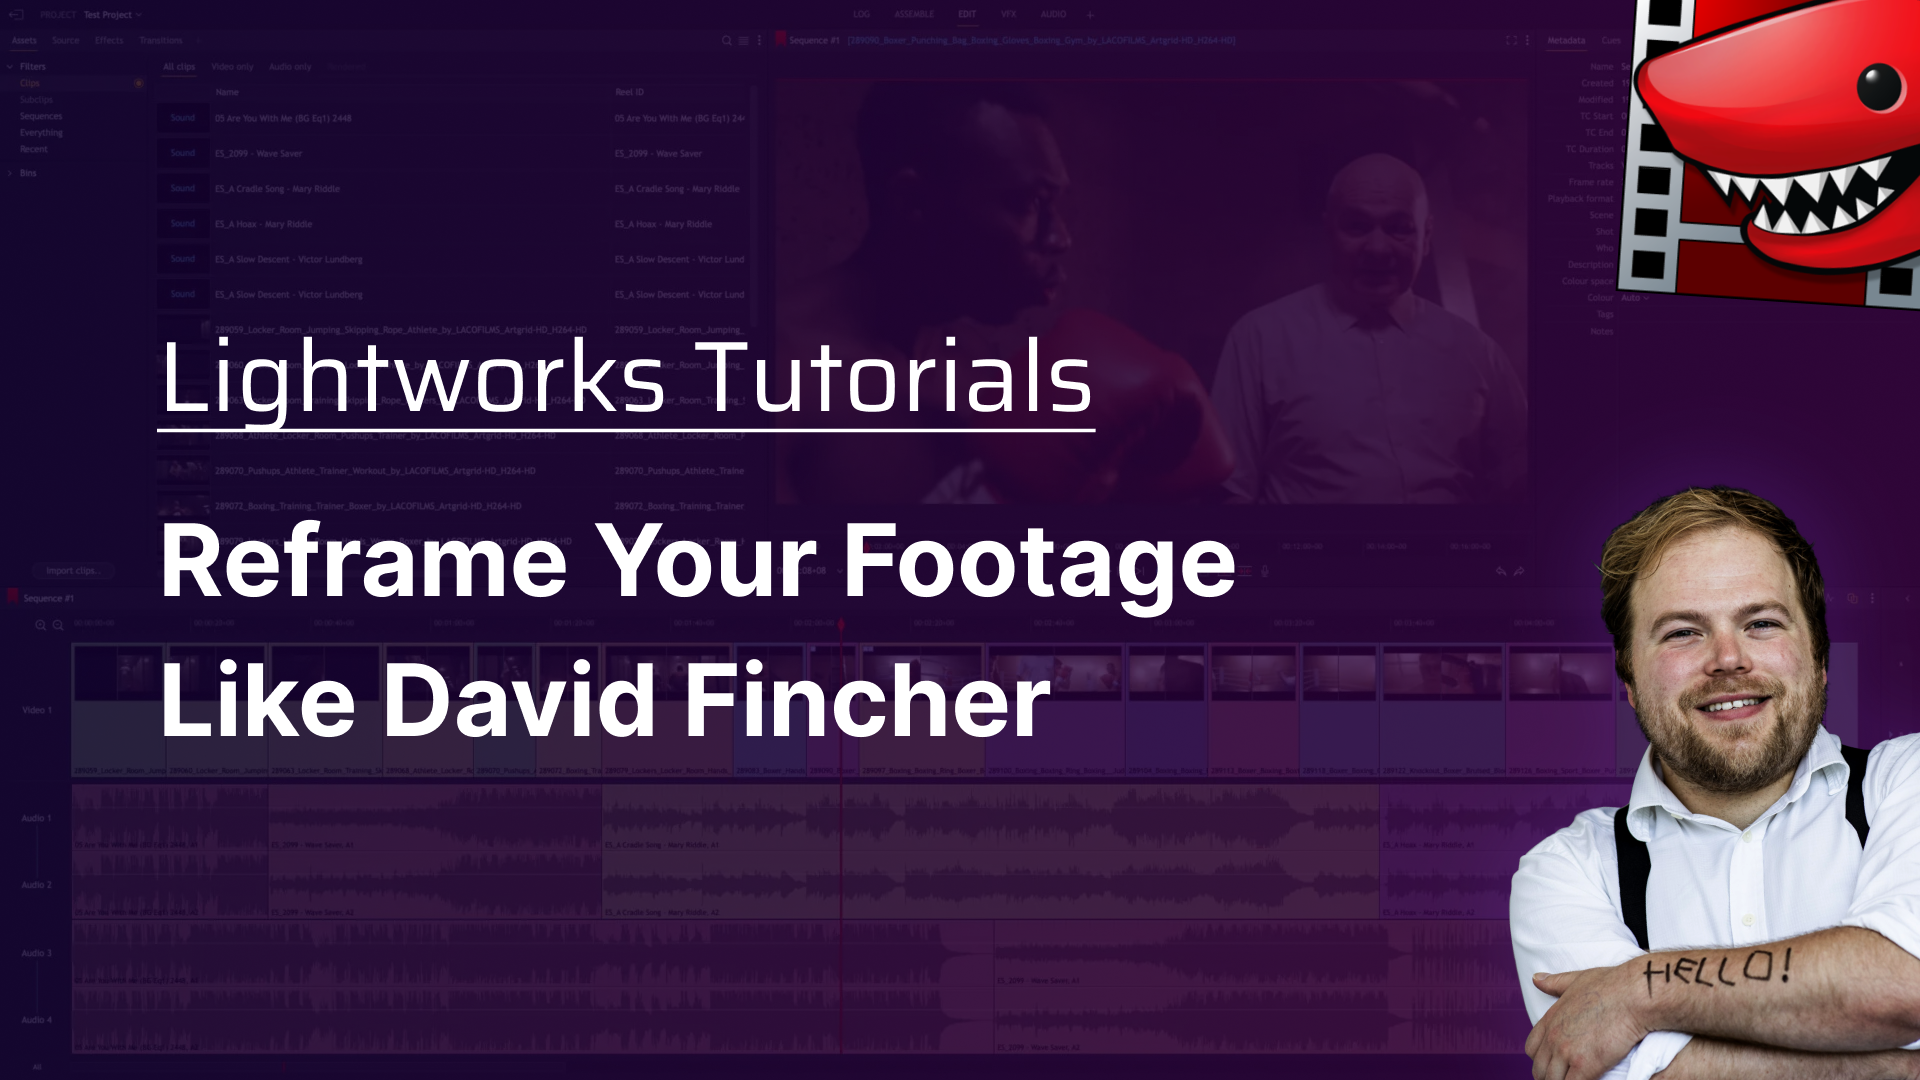
Today, we dive into the technique of 'punching in', an effective method for reframing your shots in post-production. Learn how to masterfully adjust your footage's framing and composition within Lightworks, enhancing your storytelling without the need for additional filming!
Hey there. Chris Wells here. Today, I'm going to be talking about punching in or cutting into your frame. Not just a staple of YouTubers shooting on a single camera but also filmmakers like David Fincher, who often films in a higher resolution, i.e., the size of his image, in order to have that wiggle room to perfect the framing of his shots in post.
So let's pull up like works, and I'll show you how you can do it, too. And here we are in Lightworks. I've got some awesome footage to show you today. So let me just double-click on this. And here we go. We've got this cool shot of a dude on a motorbike bike in the forest. Look, you know, pretty cool. Really nice little shot here.
But if I pause it and go to this little knobbly bit right here, that's what I will call that. I don't know what you would call it, but no little knobbly bit. You can drag this up and get all of the metadata, i.e., the information about this video clip. And obviously, this was stock footage that I've got. But if we go down here, the only real information I need to worry about today is this video format. And this shows that it is, in fact, shot in 6k, which is about 4000 more than 1080p (normal HD).
So this means that if our project is going to be only in, let's just say it's an HD YouTube video, and really we have a bit of wiggle room, we have a bit of headroom to play with when it comes to this video. So I'm just going to drag this some and what I can do now. So if we play this, then we go to the metadata here, this on the right-hand side, if that shows the metadata for this sequence. So, at the minute, the playback for this sequence is 1080p, and that's basically what I want. So, if I click this, we can change to all of these other playback formats. But really, today, I just want it to be 1080p. It's going to be just an HD video out on YouTube. And so it doesn't need to be any high resolution for what I want it for.
So I'm going to go up to Effects and go to Zoom, drag that onto the shot here, and now you'll see I will be able to zoom in. And because this is so high resolution, I'll have a fair bit of headroom to reframe, kind of the shot by which you can drag this. I just want it to reframe like that. Maybe like that. There we go. So now we've got quite a nice closer shot. So let me just turn it off. Maybe go. That's it on the wide. That's on the actual main footage, and it is cropped here. So it does look a lot better. It's playing a little bit slower because, obviously, it's using an effect. So when I export it, it will look better. It's just my computer's going a bit like, ah, there's quite a lot of stuff going on, and that's okay.
Now that's just one way of doing it, another way you can do it. Use the three dots to remove the effect. So we've gone back to the normal shot. We'll go up here to Transform 3D, drag that on. And this basically is similar controls, but with more options.
So what I'm going to do is I'm going to use the Z here. There we go. And I can crop in - adjust the Y. Obviously, I don't get that no handy window. But what this also means, and then I can use this part here. I get more rotation options. Let's just say I'm Kenneth Brannagh filming Thor one, and I want everything to be on a cool Dutch tilt that will give me this option. Oh no, I filmed it all normal and I wish I had a closer shot on a Dutch tilt. Well...Bam. Now I can because I've given myself that headroom by shooting this in extremely high quality (or the footage is extremely high quality).
And that means I can put on quite a cool little Dutch tilt. And obviously, I've just chucked the footage on here. Let's say we want to cut to the closer shot and then cut back to the wide shot. I can just press C, go to the clip, remove the clip, play that. And there we go. We've got the close-up and then the wide. And it's like a shot on two different cameras when actually it wasn't! We were just cropping in.
Another, actually the better way to do this. - So if I just undo, I'm going to remove the effect.- This time, I'm going to drag the effect onto a blank part of the timeline, and you'll see it's created a new track and effects track. So I'll just drag this out and move it along. So it covers the whole clip, and there we go.
So now this will have every effect that I put on this top level here. So let's zoom in again. And at that cool, it'll tilt obviously. Oop, I probably would trim this shot down, but let's just keep it like this for the tutorial. There we go. So we got a cool little shot here. and then what this means is if I drag this, let's say to about here and then reduce this down, you'll see now we've got the wide and then it will go to close up.
This is also a helpful way if you're filming a music video and you want to do those cuts in to the beat. So if I deactivate this track here, I'm press C and C, it's just for now. Delete that one. I can then drag this. Let's just say drag that to wherever I want. Say drag that whatever I want. Activate the video again. And now we'll see we've got the wide and then we can do some quick cuts to the closeup and then wide again and then back to the closeup and then wide again. And there we go.
And obviously, a key thing to know is that this was shot on a real high quality camera. At a really high resolution. And so it gives you that headroom. You can cut into any footage how you want, but obviously, you will lose the quality of your footage. So it's just dependent on the kind of thing you are looking to deliver. But now we go. That's essentially everything you need to know about punching into your footage to alter your shots directly in Lightworks.
For deeper dives into editing techniques and Lightworks tutorials, visit Lightworks Resources. Enhance your skills, discover community insights, and bring your creative visions to life.
Transform your video editing journey with Lightworks. Whether crafting a short film, a documentary, or a personal vlog, Lightworks gives you the tools to tell your story your way. Download now and embark on your path to becoming a master storyteller.