Mastering the capture of dialogue while filming is a critical aspect of video production that can significantly enhance the viewer's connection to the story and characters. This comprehensive guide delves into the art of achieving clear, impactful dialogue.
From selecting the right microphone to balancing dialogue with background elements, we explore practical strategies and Lightworks' powerful audio tools to elevate your video's auditory experience to professional standards.
The Art of Clear Dialogue
Clear dialogue recording is fundamental to the quality of your video. It not only conveys the story and emotions but also grounds the viewer in the video's reality. Achieving clarity in dialogue recording enhances the viewer's engagement and comprehension, making it an indispensable aspect of successful video production.
Recording Tips for Crisp Dialogue
Choosing the Right Microphone
Selecting an appropriate microphone is crucial for capturing high-quality dialogue. Understanding the different types of microphones and their applications can significantly impact the clarity of your recorded dialogue.
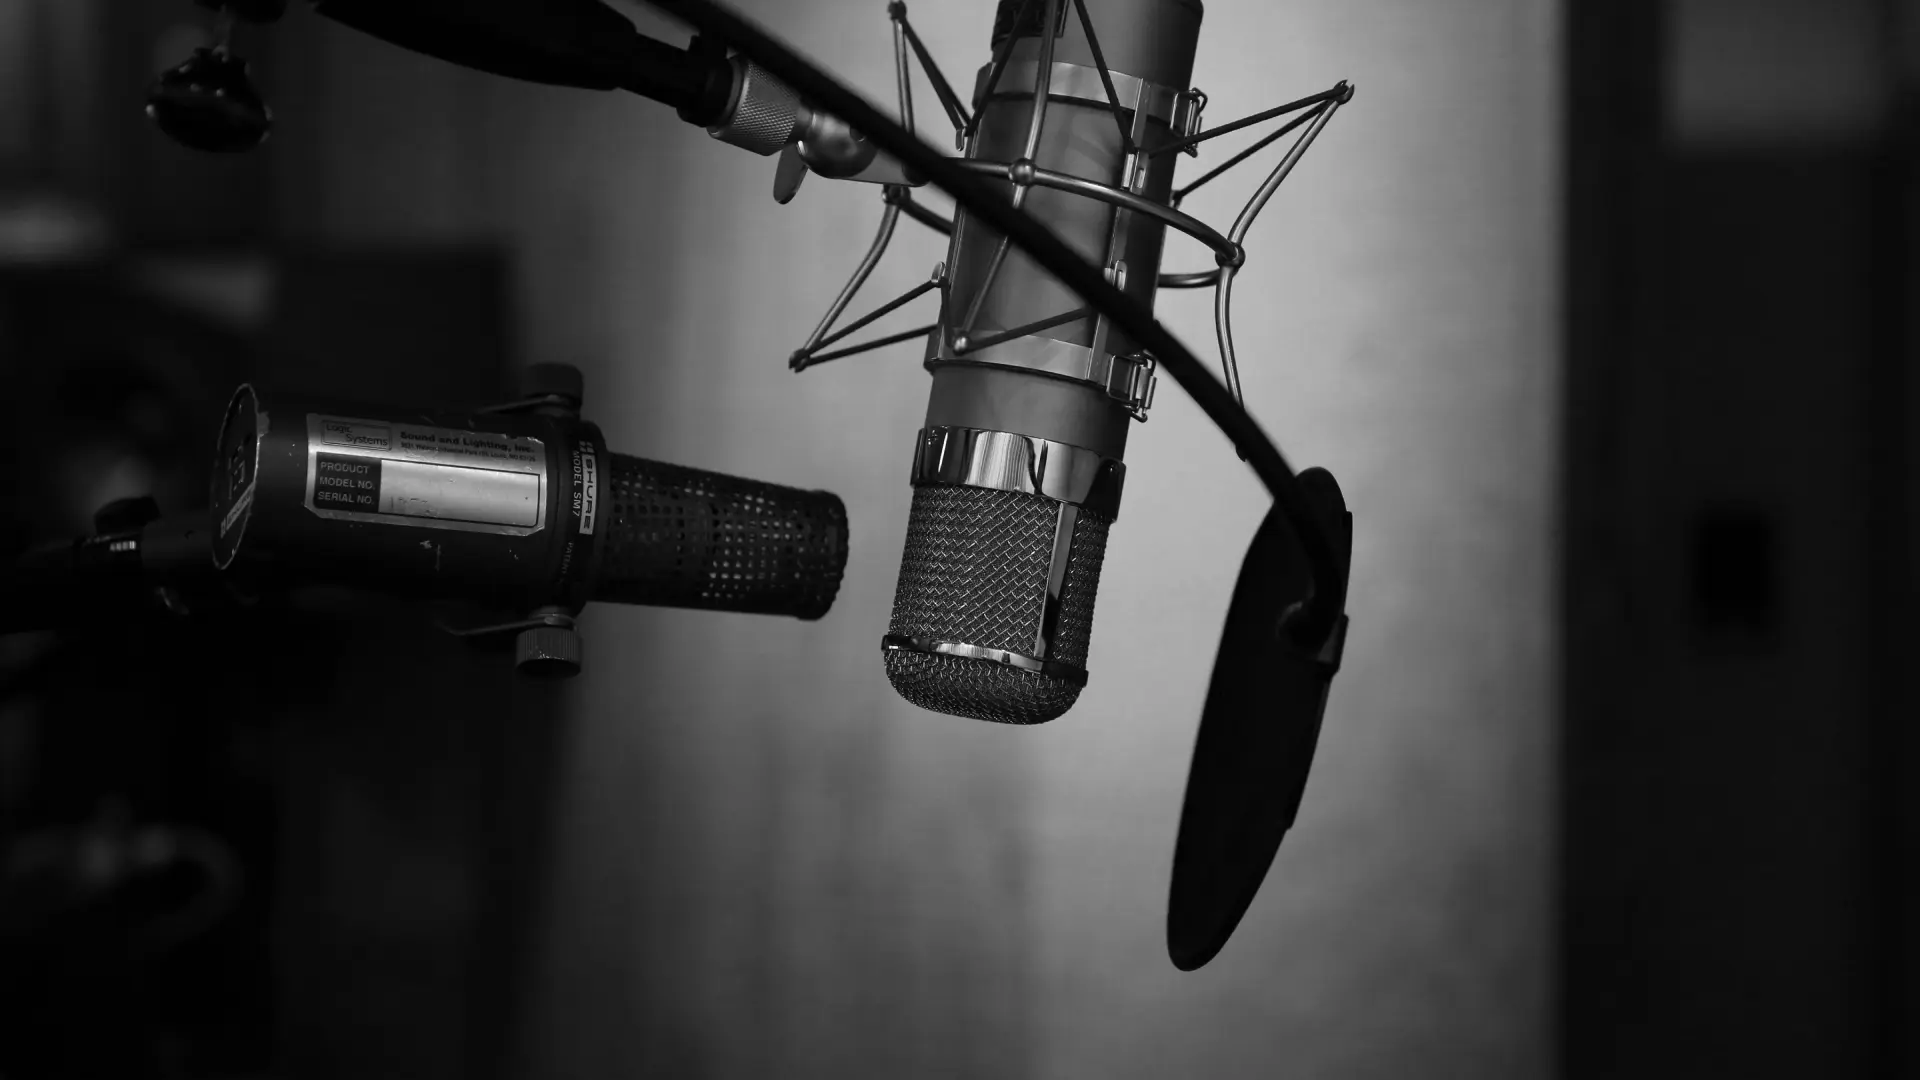
Dynamic Microphones

Dynamic microphones are renowned for their durability and ability to handle high sound pressure levels, making them suitable for loud environments.
Pro
Highly durable and excellent for live performances or environments with high ambient noise levels due to their robust construction and sound pressure handling.
Con
Less sensitive to subtle sound nuances, which might not capture the full range of vocal frequencies as effectively as condenser microphones, especially at a distance.
Condenser Microphones
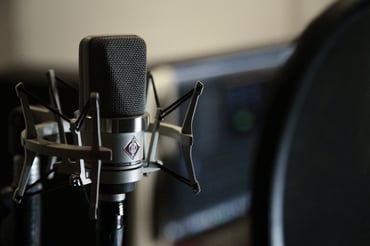
Condenser microphones, known for their sensitivity and wide frequency response, are preferred in controlled studio environments for capturing nuanced vocal performances.
Pro
Offers superior sound quality with a broad frequency response and high sensitivity, ideal for capturing detailed and nuanced vocal performances.
Con
Requires external (phantom) power, making them more complex and potentially less versatile in field or mobile recording scenarios.
Lavalier Microphones

Lavalier (Lav) microphones offer discreet miking of speakers, ideal for interviews and documentaries where clarity and invisibility are paramount.
Pro
Provides unobtrusive, hands-free operation, allowing for natural movement and dialogue delivery by the speaker or actor.
Con
Susceptible to clothing rustle and may require careful positioning to avoid audio inconsistencies and interference.
Shotgun Microphones
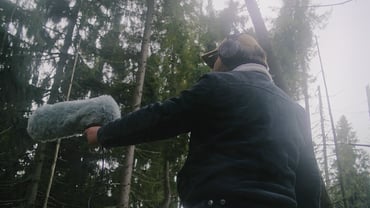
Shotgun microphones excel in isolating dialogue from a distance, focusing on the sound in front of them while minimising background noise, perfect for film and outdoor shoots.
Pro
Highly directional, allowing them to pick up sound from a focused area while rejecting off-axis noise. It is ideal for capturing dialogue in noisy or outdoor environments.
Con
Can be less forgiving regarding mic placement, requiring precise positioning to effectively capture the intended audio source.
USB Microphones
USB microphones provide a convenient, plug-and-play solution for beginner filmmakers or simple setups, combining ease of use with decent audio quality.
Pro
Offers simplicity and convenience for beginners, with easy setup and no need for an external audio interface or additional equipment.
Con
Potentially offers lower audio quality and less flexibility regarding recording options compared to more professional microphone setups.
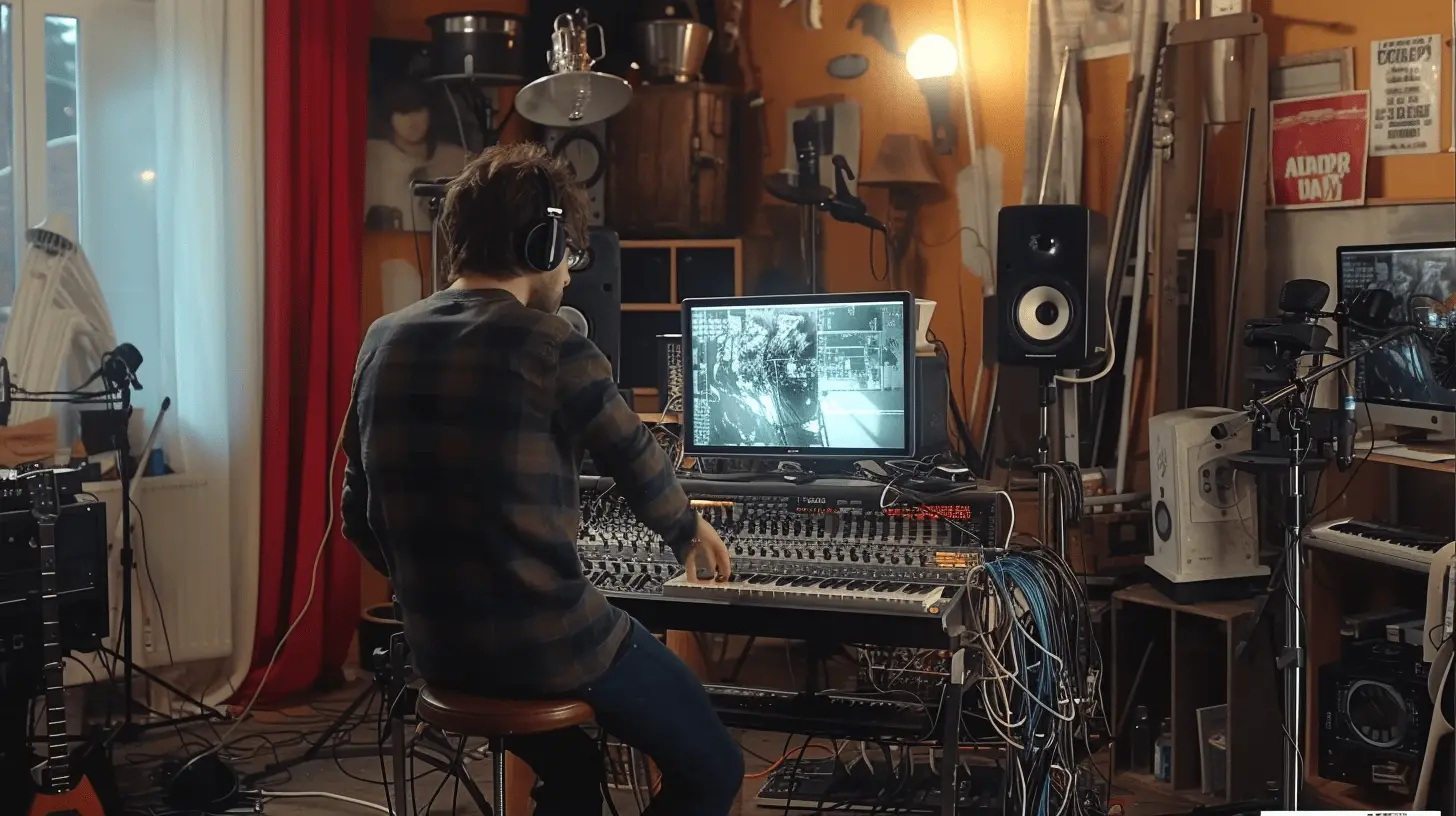
Environment Acoustics
Optimising the acoustics of your recording environment is crucial for achieving clear dialogue. Whether you're filming on location with unpredictable noise or in a controlled room at home, understanding how to adapt can significantly improve audio quality.
Identifying and Minimising Background Noise
- Quiet Locations: Whenever possible, choose locations with minimal background noise. Early morning or late evening can offer quieter outdoor environments.
- Directional Microphones: Utilise directional mics to focus on the speaker and minimise ambient sounds.
- Use of High-Pass Filters: Employ high-pass filters to eliminate low-frequency background noises like rumbling from traffic or air conditioning units.
- Scheduling Recordings: Plan recordings when background noise is at its lowest, considering daily and weekly patterns of the surrounding environment.
- Physical Sound Dampeners: Deploy makeshift sound dampeners such as mattresses or blankets against windows or walls facing noise sources.
- Sound Blankets: Hang sound blankets around the recording area to create a temporary barrier against ambient noise.
- Software Solutions: Utilise noise reduction software in post-production to remove or reduce unwanted background sounds captured during the shoot.
Adapting to Uncontrollable Environments
- Scout Locations in Advance: Visit your shooting location to identify potential noise issues and plan your recording times accordingly.
- Use Lav Mics with Wind Protection: For outdoor shoots, lavalier microphones with windshields can reduce wind noise while capturing clear dialogue.
- Implement Overdubbing: If unavoidable noise interferes with critical dialogue, consider recording it separately and overdubbing it in post-production.
- Real-Time Monitoring: Always monitor audio through headphones during recording to immediately identify and address any intrusive noise.
- Backup Audio Recording: Use a secondary audio recorder closer to the subject as a backup, which might capture cleaner dialogue.
- Communication with Local Authorities: For public locations, communicating with local authorities or establishments can sometimes allow temporary control over noise sources.
- Strategic Microphone Placement: Place microphones as close to the subject as possible, using boom poles or stands, to ensure the dialogue is louder than the background noise.
- Ambient Noise Recording: Record ambient noise without dialogue for a few minutes for audio repair or to smoothly bridge edited dialogue in post-production.
Optimising Controlled Environments
- Acoustic Treatments: Apply acoustic foam or panels to walls to absorb sound and reduce echo. Even heavy curtains or bookshelves filled with books can help.
- Carpeting and Rugs: Use carpets or rugs on hard floors to minimise footstep sounds and reverberation.
- Close Windows and Doors: Minimize external noise leakage by closing windows and doors. Use weather stripping for additional soundproofing if necessary.
- Decoupling Devices: Use isolation pads or platforms under noisy equipment like computers or fans to minimise vibrations and airborne noise.
- Variable Acoustic Solutions: Implement variable acoustic solutions like movable panels or curtains to adjust the room's sound characteristics based on the recording needs.
- Humidity and Temperature Control: Maintain an optimal level of humidity and temperature in the room to prevent equipment noise and ensure comfort without needing noisy air conditioners or heaters.
- Regular Maintenance: Keep recording spaces and equipment clean and well-maintained to prevent noise from equipment malfunction or degradation.
Enhancing Room Acoustics
- Soft Furnishings: Incorporate soft furnishings like sofas, cushions, and drapes to absorb sound and reduce echo in indoor settings.
- DIY Solutions: For temporary setups, hanging blankets or setting up mattresses around the recording area can serve as effective, budget-friendly sound absorbers.
- Reverb Reduction Software: In post-production, use software tools to minimise reverb and echo from your recordings, further clarifying dialogue.
- Ceiling Treatments: Apply acoustic treatments to ceilings, especially in rooms with high ceilings, to reduce vertical sound bounce.
- Bass Traps: Install bass traps in room corners to absorb low-frequency sounds, minimising muddiness in recorded dialogue.
- Distance from Walls: Keep the subject or sound source at a strategic distance from walls to reduce reflections and standing waves.
- Room Shape and Size Consideration: Be mindful of the room's shape and size; avoid square rooms and opt for spaces with non-parallel walls when possible to minimise standing waves and echo.
Balancing Acoustics in Mixed Environments
- Mix and Match Techniques: In environments with partial control, combine strategies from controlled and uncontrollable settings. For example, use directional microphones and portable sound barriers in semi-open spaces.
- Monitor and Adjust: Continuously monitor audio through headphones during recording and be ready to adjust, whether repositioning the microphone or modifying the set to improve acoustics.
By strategically addressing the acoustics of your recording environment, you can significantly enhance the clarity of dialogue in your videos, ensuring your message is delivered effectively, regardless of the location's challenges.
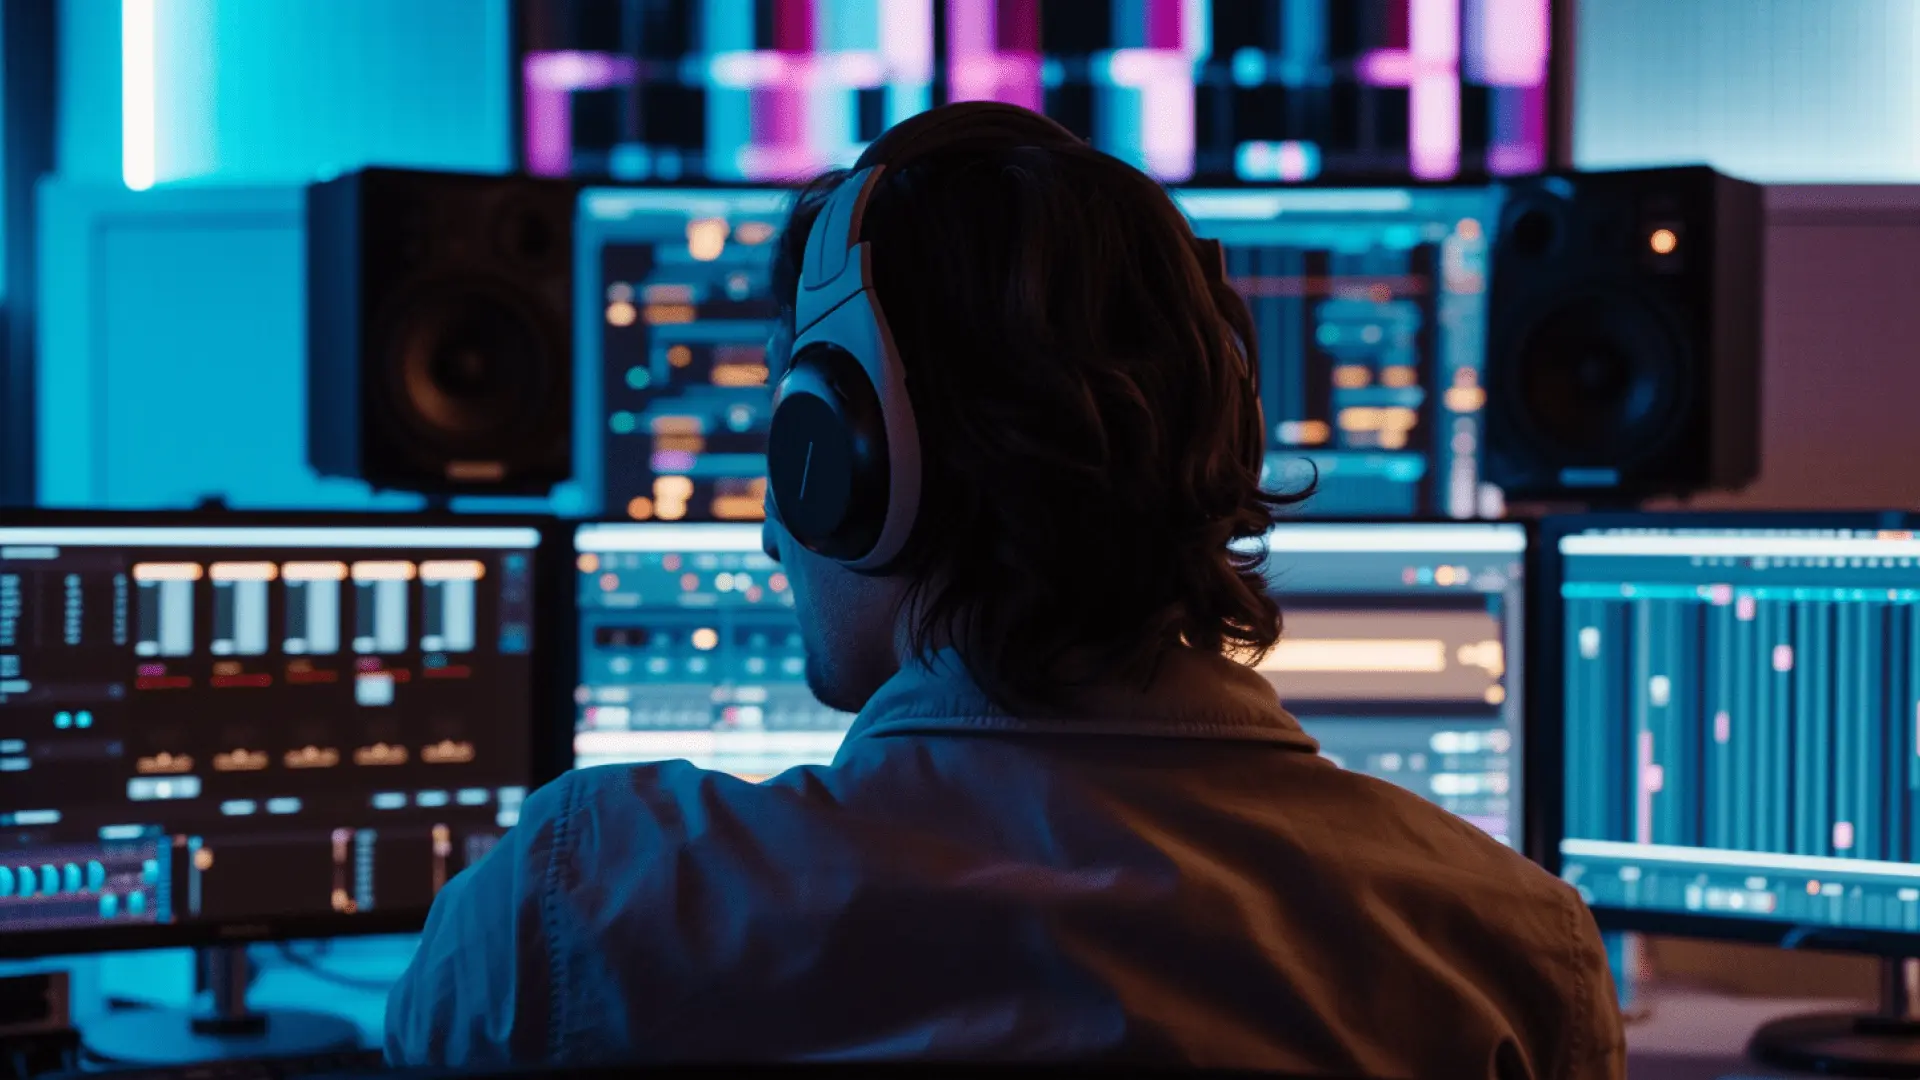
Cleaning and Enhancing Dialogue in Post-production
The post-production phase is where your dialogue truly comes to life. With Lightworks' suite of audio tools, you can transform even the most challenging recordings into clear, professional-quality audio. Here’s how to make the most of these tools:
Using EqualiSation to Enhance Clarity
Real-time EQ Mixing across 4 Bands: Lightworks allows for precise adjustments across four frequency bands, enabling you to highlight the essential vocal frequencies and suppress unwanted noise. For instance, boosting the high-mid frequencies can make your dialogue more intelligible, while rolling off the low end can reduce rumble and background noise.
Dialogue Enhancer
Utilising the Dialogue Enhancer preset in Lightworks can instantly improve clarity and presence. This tool is particularly effective for vocals recorded in less-than-ideal conditions, helping to elevate the dialogue above ambient noise and music.
Noise Reduction Tools in Lightworks
- Access to 3rd-Party Audio Plugins: Lightworks supports third-party VST audio plugins, allowing you to integrate specialised noise reduction tools. This flexibility means you can choose the plugin that best matches your audio clean-up needs, from subtle noise floors to more aggressive hiss and hum removal.
- Native Audio FX: Lightworks' native audio effects library includes powerful noise reduction tools designed specifically for dialogue. Using these tools, you can remove common problems like background hiss, electrical hum, and wind noise without affecting the dialogue's natural tone.
- Quick Audio FX Templates: For editors looking for quick fixes, Lightworks offers presets such as the Acoustic Sweetener, Instrument Enhancer, Subtle Sweetener, and Voice Enhancer. These templates are tailored for different audio types, providing an instant improvement with minimal effort required.
DAW Workstation Integration
For those requiring granular control over their audio, Lightworks' integration with Digital Audio Workstation (DAW) software provides unparalleled precision. This integration allows for:
- Detailed Sound Editing and Mixing: Mimic the capabilities of professional music production environments. You can apply complex effects chains, automate volume and pan settings, and much more.
- Advanced ADR and Foley Work: For projects where Automated Dialogue Replacement (ADR) or Foley sounds are necessary, working within a DAW environment ensures that these elements are seamlessly integrated into your video.
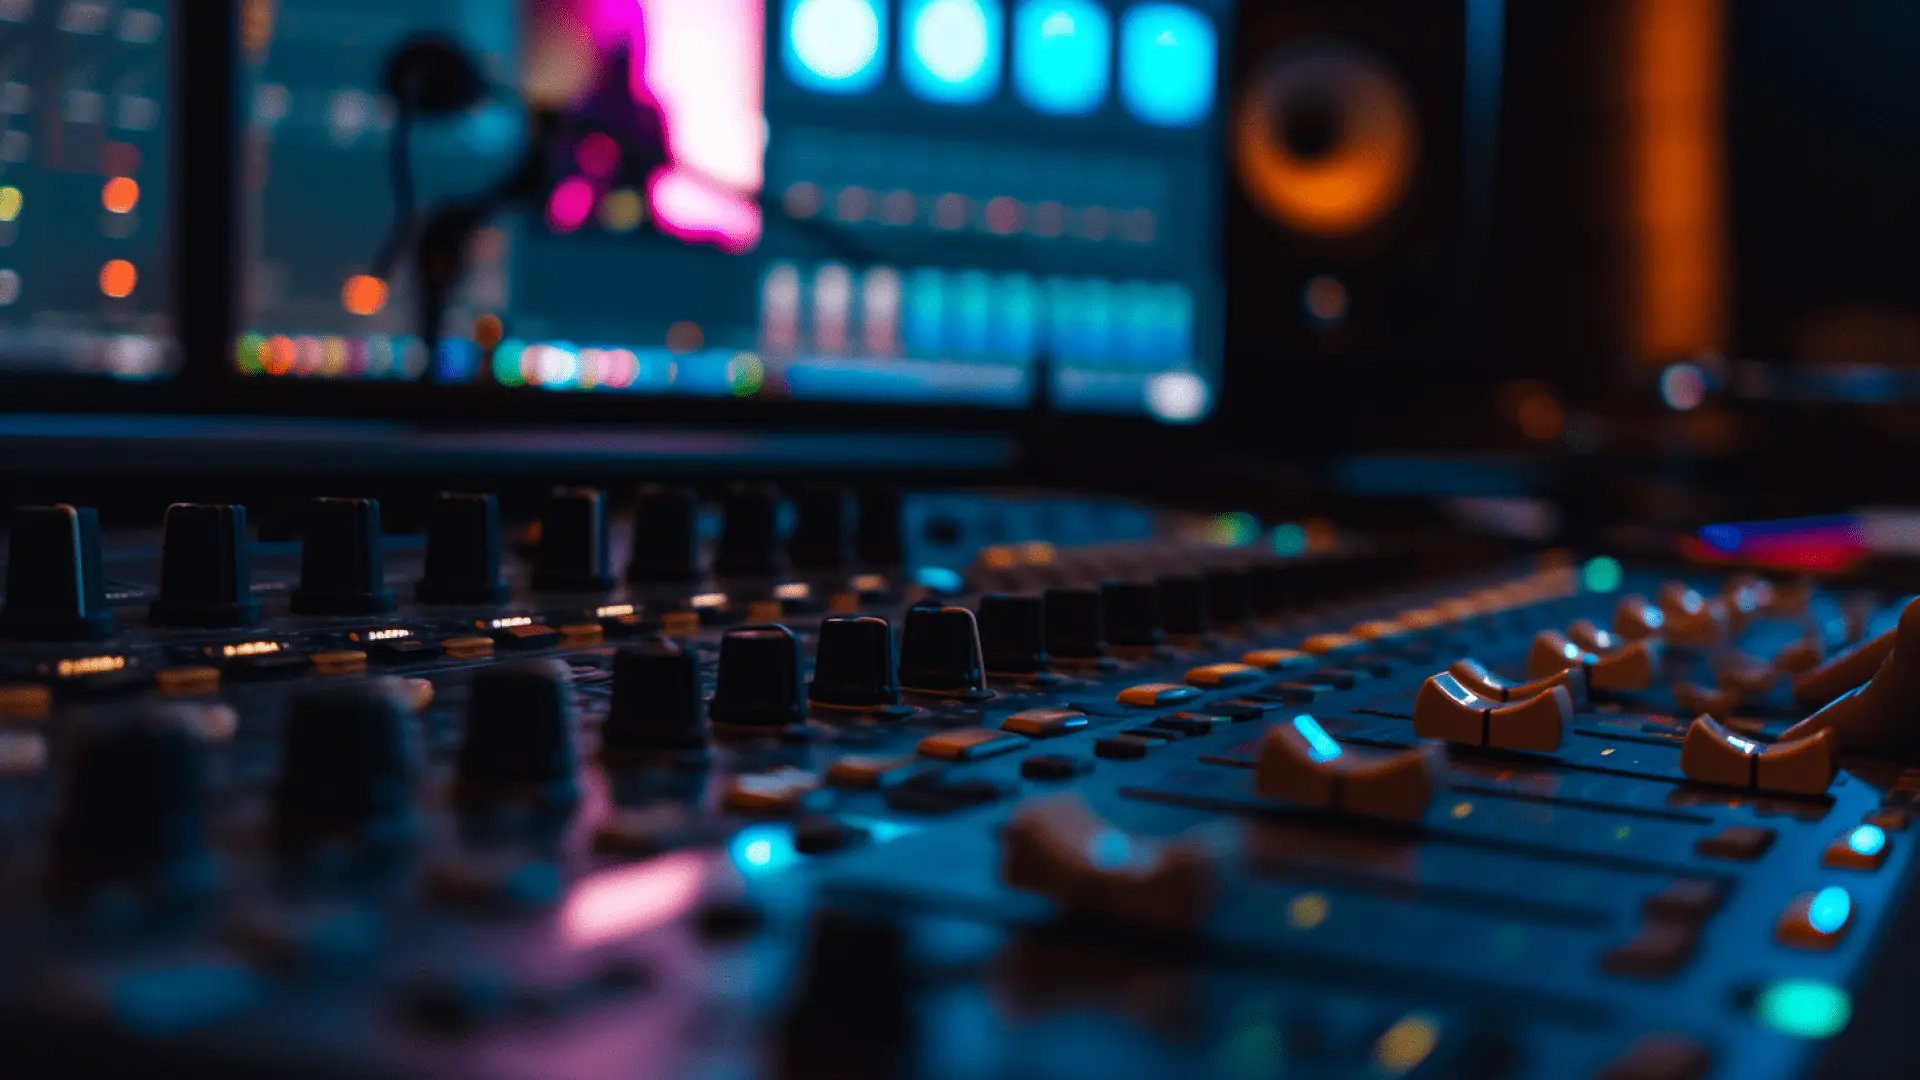
Balancing Dialogue with Other Audio Elements
Creating a mix where dialogue, music, and sound effects live in harmony is crucial. Lightworks provides the tools necessary to maintain this balance:
- Volume Levelling and Audio Ducking: Ensure your dialogue remains the focal point of your audio mix. Lightworks allows for easy adjustment of volume levels and can automatically duck background music during dialogue segments.
- Frequency Separation: Use the EQ tools to carve out a specific frequency space for your dialogue, ensuring it's not competing with background music or effects.
- Spatial Panning: Strategically place sound effects and music in the stereo or surround field to complement the dialogue, enhancing the overall sound design without overwhelming the spoken words.
Automated Dialogue Replacement (ADR)
When original dialogue recordings are unusable, ADR can be employed. Lightworks facilitates the ADR process, allowing for seamless replacement and synchronisation of dialogue in post-production.
Lightworks and ADR
Lightworks streamlines the ADR process with intuitive tools that facilitate the easy replacement of dialogue. Its synchronisation features ensure that new recordings perfectly match the lip movements and actions seen on screen, maintaining the authenticity and continuity of the performance.
Utilising ADR Effectively
For creators without access to professional ADR setups, the following guidance can help achieve high-quality results:
- Quiet Environment: Record in the quietest space available. Use blankets or pillows to dampen echo if a professional studio isn't an option.
- Consistent Microphone Use: Use the same microphone type for ADR as the original recording to maintain audio consistency.
- Match Acoustic Properties: Replicate the original recording environment's acoustic properties. If the original was outdoors, consider adding subtle outdoor ambience in post-production.
- Synchronisation: Pay close attention to lip-sync. Lightworks' tools can help match the ADR precisely with the video, but patience and attention to detail are essential.
- Multiple Takes: Record several takes of each line to give yourself options during editing. This ensures the best possible performance and sync.
- Emotional Match: Ensure the actor's performance during ADR matches the emotional tone and intensity of the original scene. This might require playing the original scene several times for reference.
Conclusion
Clear dialogue is the cornerstone of compelling storytelling in video production, bridging your narrative and your audience. This guide has navigated you through essential recording and enhancing dialogue techniques, from choosing the optimal microphone to utilising Lightworks for post-production magic. Applying these strategies can overcome common audio challenges, ensuring your dialogue stands out against any backdrop.
Remember, while Lightworks provides a robust suite of tools for most video editing scenarios, exploring advanced audio editing software is an option for those needing further specialisation. Ultimately, mastering the craft of dialogue will improve the quality of your videos and deepen the impact of your storytelling, engaging your audience with every spoken word.
Additional Resources
For deeper dives into editing techniques and Lightworks tutorials, visit Lightworks Resources. Enhance your skills, discover community insights, and bring your creative visions to life.
Transform your video editing journey with Lightworks. Whether crafting a short film, a documentary, or a personal vlog, Lightworks gives you the tools to tell your story your way. Download now and embark on your path to becoming a master storyteller.
Author's Note — AI and Content Generation
In our commitment to transparency and ethical practice, we wish to disclose that artificial intelligence (AI) played a role in crafting this piece. However, it remains primarily a human endeavour, with the core content written, edited, and meticulously proofread by our team.
AI served primarily as a tool for workshopping drafts, researching topics, and ensuring a consistent writing style. Importantly, our use of AI is designed to complement, not replace, our team's efforts. It allows us to efficiently utilise our resources, enhancing our work without compromising or diminishing the value of human skill and creativity.