Get Video Editing Tips, Tricks, and Guides Straight to Your Inbox
It is a dark time for the LIGHTWORKS community. Some users have edited their masterpiece, only to grow concerned that they have no title card for it.LIGHTWORKS Editor, DAVID WINTER, has heard these concerns, and decides to make a SHORT CUTS episode to demonstrate
how the LIGHTWORKS text tools can work. With LIGHTWORKS fired up and ready to go, he begins the episode by saying his usual spiel…
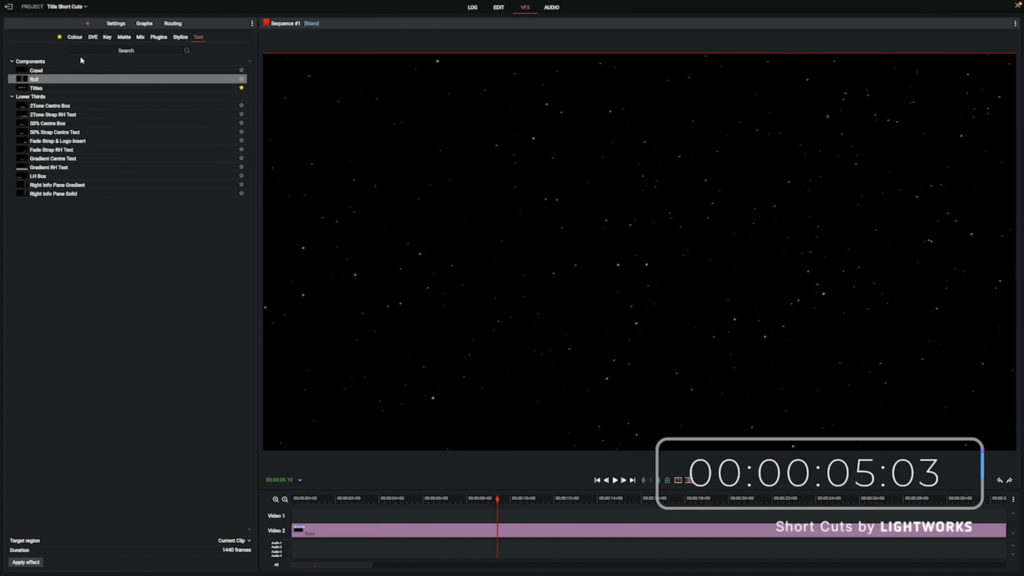
Lightworks has 3 primary text tools available to users. Crawl, Roll, and Title. Crawl is when the footage moves from one side of the screen to the other. Roll is when the footage moves up or down the screen. Title is fixed text.
In this episode of Short Cuts, we take a look at the roll text tool, or rather how you can create a rolling text effect - not dissimilar to the opening text of a movie franchise about battles in space (which you can learn more about here: The Star Wars Opening Text).
Although this Short Cuts is specifically just about rolling title effects, the majority of what you'll see can also be applied to the crawl and title versions of the effect.
There are a number of uses for a rolling title effect, the most obvious one being the credits at the end of a film. That's not the only application for it, however, and as this Short Cuts/Star Wars demonstrates there are other creative uses for it.
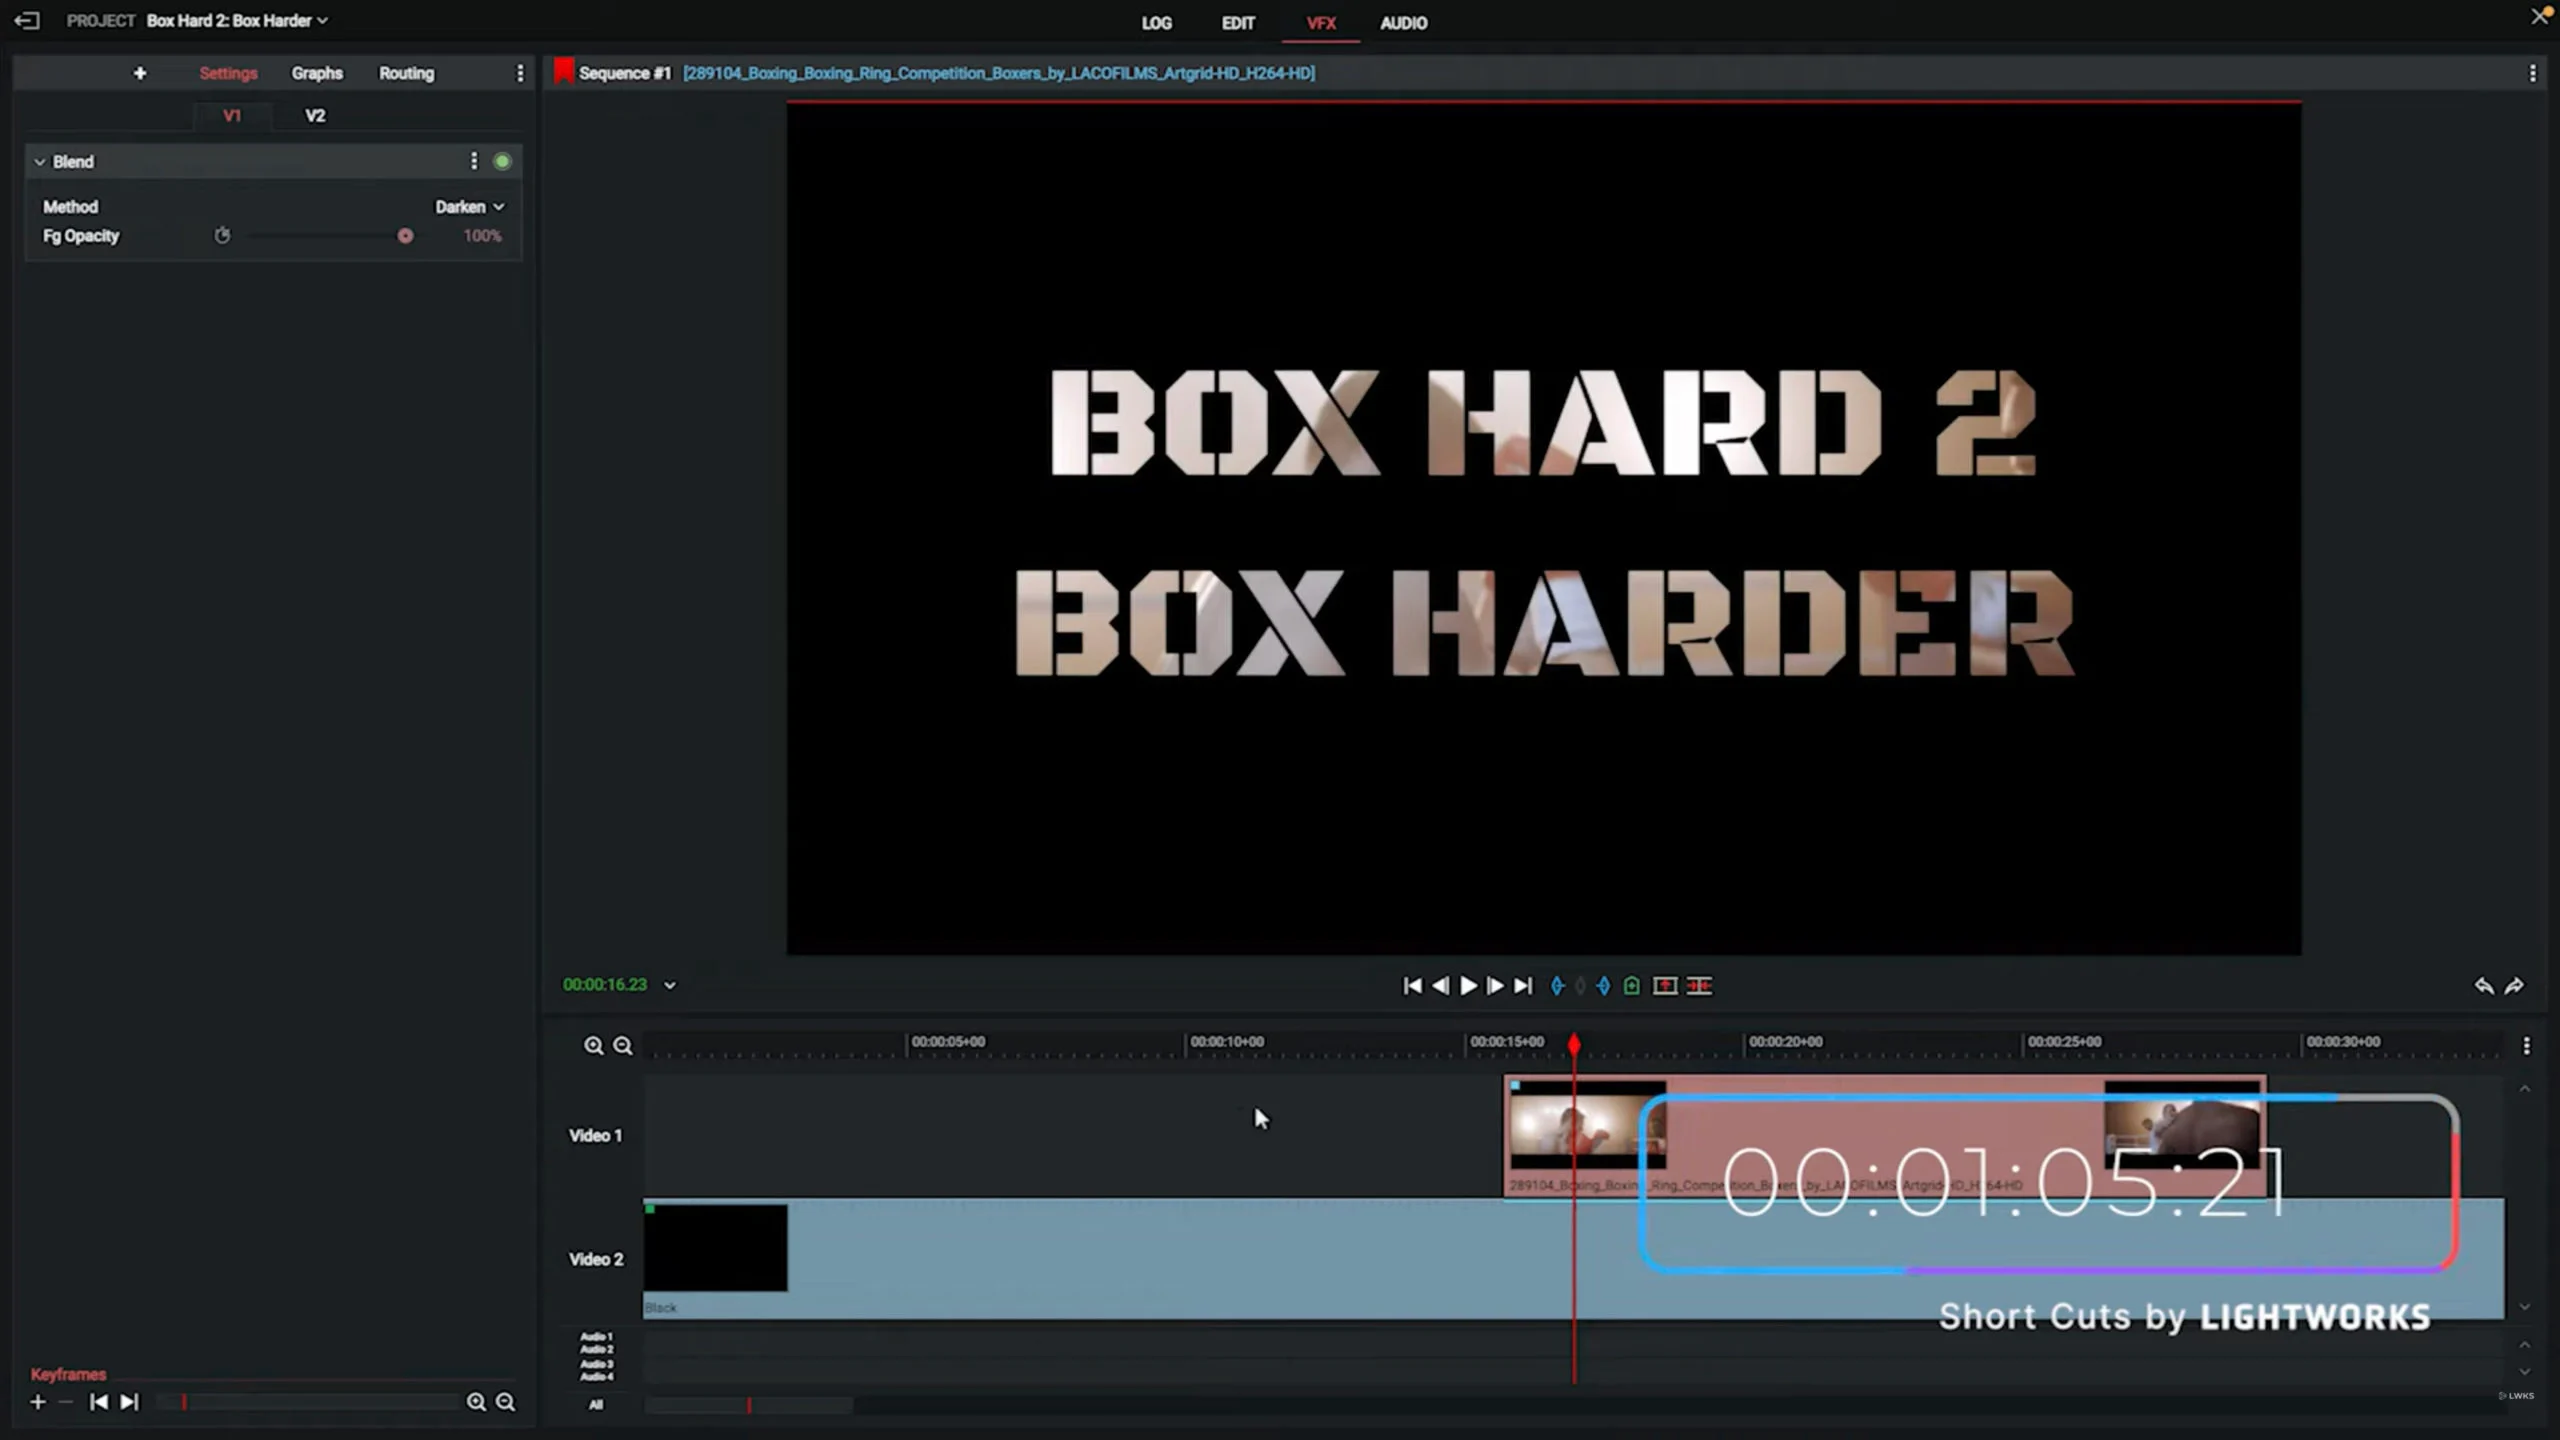
You can apply a rolling title effect either to a single clip to have it contained to just that clip, or you can put it on its own video track so that it will work over any footage laid underneath it. In the instance of our intro, we have some stars behind the text. You could place the rolling title effect straight onto that footage to have it contained just to that clip, or you could do what I've done in the video, and put it on its own layer so you can extend it beyond the clip underneath.
Although I don't need my rolling title effect to extend beyond the clip I've chosen, I've put it on its own video track anyway, as I prefer that flexibility.
Once the rolling title effect has been activated, you can then adjust the overall look and feel of the text. You'll start out with a generic white looking text, but you can change just about an aspect of it through the following settings tabs:
Font: Change the look of the text. Adjust the font, whether it's in bold, italics, how large it is, and how see-through it is.
Face: Let's you change the colour of the text. Whether it's a single, flat colour, or a two-tone gradient or sheen effect.
Position: Let's you change the location of the text, how fast it moves, and the gap between the lines.
Shadow: Lets you put an adjustable shadow around the text. You can change how intense this is, the colour, the direction, and more.
Outline: Let's you add a solid colour outline around the text.
All of this adds up to being able to use the rolling text effect in some really interesting ways. Why don't you watch the video, have a play around, and share the results on our forum? Happy editing!
Short Cuts #11: Editing Video for Social Media in the Correct Aspect Ratio
Short Cuts #10: Speed Up Editing with Proxies
Short Cuts #8 & 9: Save Time Rendering Video
Short Cuts #6: The Key to Keyframes in Lightworks
Short Cuts #5: How to Backup and Restore Video Edits in Lightworks
Short Cuts #4: How to use LUTs (and 5 free horror movie LUTs to download)
Short Cuts #3: How to do Picture in picture in Lightworks
Short Cuts #2: Cloud Editing: Get Footage from Your Phone to Lightworks. Fast