
A transition smooths the change from one shot to the next. Most of the time a plain cut is the right choice, but a dissolve or wipe can convey a passage of time or a change of place. This article covers adding, timing, and adjusting transitions, and fading clips in and out.
Cuts, dissolves, and wipes
- A cut is an instant change with no transition - the default join between two clips.
- A dissolve (crossfade) blends one shot into the next over a set duration.
- A wipe moves one shot off and the next on, with a shaped edge.
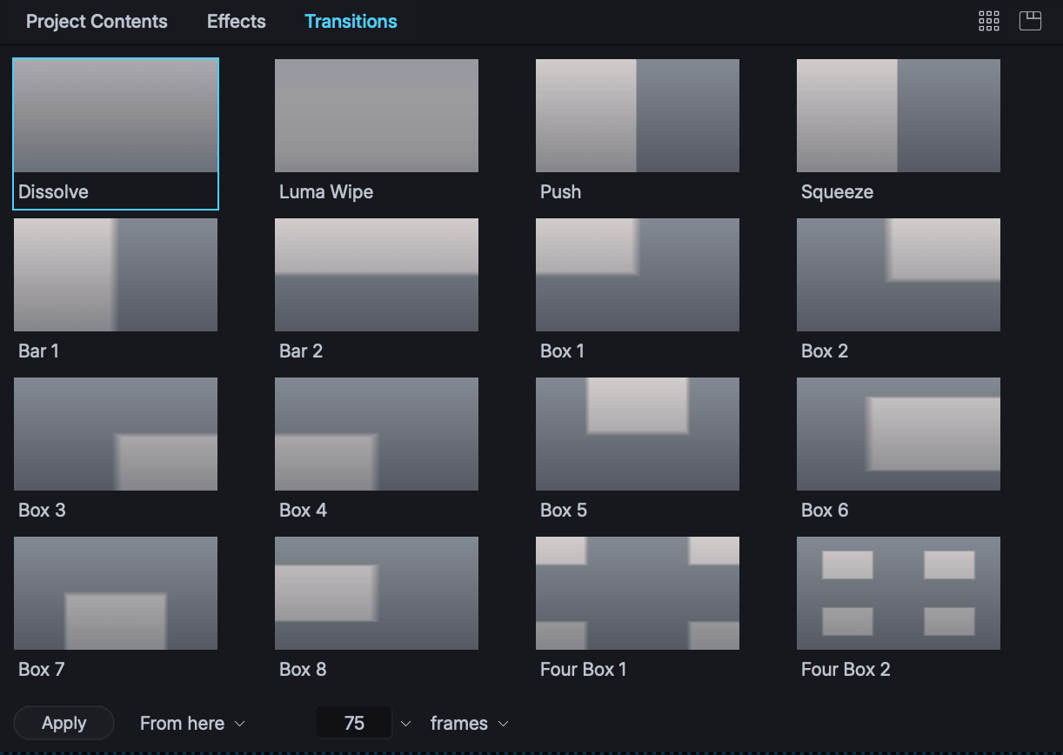
- Other styles such as push, squeeze, and luma wipe offer different moves.
Tip: Cut by default. A dissolve says "time has passed" or "meanwhile"; used everywhere it just looks indecisive. Reserve transitions for where they mean something.
Adding a transition
- Make sure the Edit (or VFX) tab is active.
- Right-click the cut point between two clips.
- Choose Transitions and pick the transition you want (for example Dissolve).
- Choose where it sits relative to the cut (see Alignment, below).
- Set the length.
- Click Add.
Changing transition duration
Set the duration when you add a transition, and adjust it afterwards - drag the transition's edge on the timeline, or change its length in its settings. A short dissolve (a few frames) softens a cut almost invisibly; a longer one is a clear, deliberate blend.
Editing transition alignment
Alignment decides where the transition sits relative to the cut:
| Alignment | Where it sits |
|---|---|
| Centred here | Straddles the cut, half on each clip |
| From here | Runs forward from the cut |
| To here | Runs backward to the cut |
Centred is the usual choice; from and to are useful when one clip has more spare material than the other.
Dissolve curve shapes
The curve of a dissolve controls how the blend progresses - a linear curve is even, while eased curves start or end more gently. Adjust the curve when a straight dissolve feels too mechanical, to ease the blend in or out.
Transition settings
Each transition has its own settings (for example a wipe's direction and softness, or a dissolve's curve). Open the transition's settings to adjust them, and keyframe parameters where you want the transition itself to animate (see Keyframes and animation).
Removing transitions
To remove a transition, select it and delete it, or use its context menu. The join returns to a plain cut; the clips themselves are unchanged.
Why transitions need spare material
A transition overlaps two clips, so both need spare frames beyond the cut to draw from - an outgoing clip needs material past its out point, and an incoming clip needs material before its in point.
Note: If there isn't quite enough spare material, Lightworks reduces the transition time to fit and tells you so; if there's no room at all, it reports that the transition can't be made on that track. Trim the clips a little shorter to free up frames, then add the transition again.
Video fades
Where a transition joins two clips, a fade eases a single clip in or out. Fades in v2026 are more capable than before:
- Apply a fade by dragging the fade handle at either end of a video segment - the handle shows the fade's duration as you drag.
- Fade type - fade to or from Black, White, or Transparent (the default). Transparent fades reveal whatever is on the tracks below, which is how you fade one layer over another.
- Curve shapes - choose Linear, Ease In, Ease Out, or S-Curve to shape how the fade progresses (or None to remove it).
- Effects fade too - any effects on the clip fade along with it, so a graded or stylised shot fades cleanly.
To adjust a fade after you've made it, right-click the fade on the segment and change its curve or type. For precise control, right-click the clip and choose Fade In/Out to open the Fades panel, where you can set fades numerically.
Tip: A fade to black on the outgoing clip followed by a fade from black on the incoming one reads differently from a dissolve - it's a full stop rather than a comma. Use it for chapter-like breaks.
Audio fades are covered in Editing audio in the timeline.