All audio within Lightworks is routed through the audio mixer, which can be found on the right hand side of the sequence timeline on the EDIT tab or on the Audio tab. The sequences can have up to 32 individual audio tracks; these can all be disabled, solo’d, or routed to different outputs, including the spatial positioning.
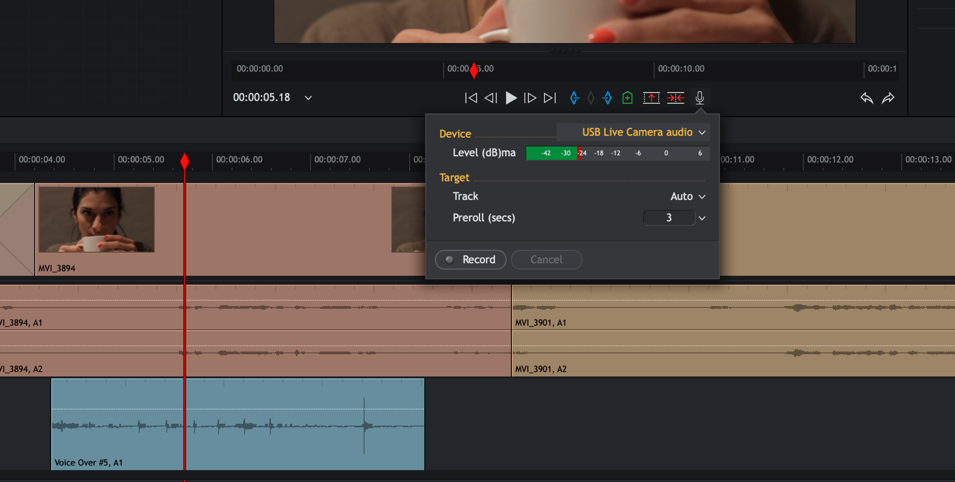
To enable audio level editing on the sequence timeline, click the ‘Toggle audio levels editing’ 
Please Note: When this option is on, you will not be able to drag and drop clips, move clips on the timeline or trim. Toggling the setting will disable audio-level editing.
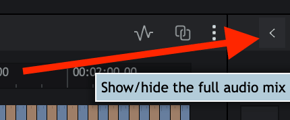
The Audio Mixer is displayed in the bottom right area of the EDIT tab. To expand the mixer to see all the tracks, click the arrow icon.
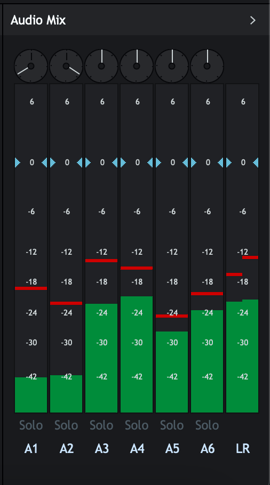
The Audio Mixer displays all the available audio tracks, each with its own sound level indicator.
To adjust the sound level for each track, slide the adjacent (blue) volume control up or down. Left-click on the track to reset it to its default level.
The track for the mixer output is labelled LR. To adjust the overall sound level, slide the LR volume control up or down. Left-click on the LR track to reset it to its default level.
Click the track indicator to enable or disable its output alternatively.
To monitor the output of one track and mute the other tracks, click on the Solo button for the track you want to hear. The Solo button illuminates to indicate that it is selected.
Tip: Tracks can be muted or solo’d using the track header icons next to the track name on the sequence timeline.
To change the spatial positioning of the track right or left, drag the balance control pointer clockwise or counter-clockwise.