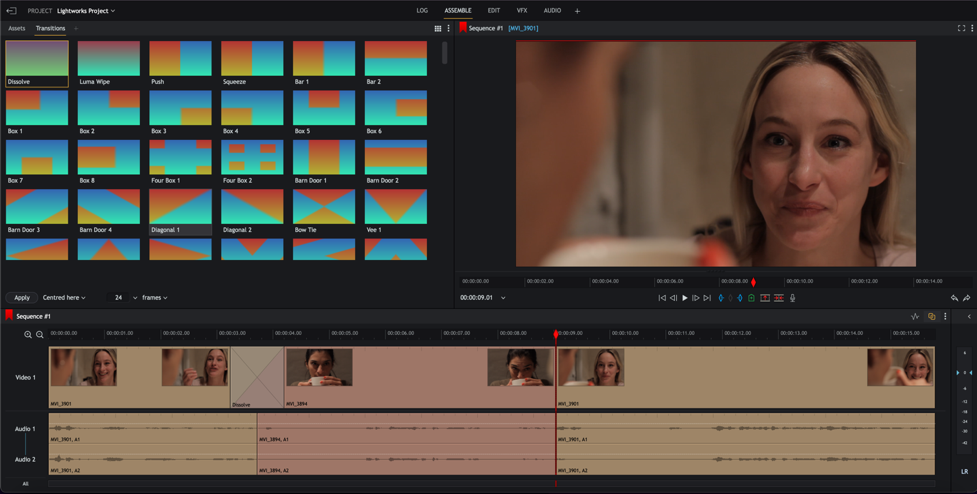
Make sure the Edit, Assemble or VFX tab is selected.
In the audio track, right-click on the cut where you want to add your transition.
From the menu that opens under ‘Cut Commands, ’ select Crossfade.
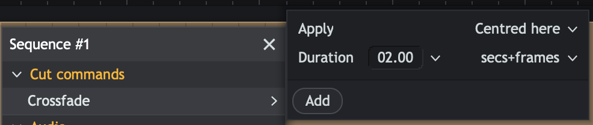
Choose where you want the transition to start and finish from the drop-down list. The options are:
Centered Here: Applies the effect centered at the park position.
From Here: Applies the effect forward from the park position.
To Here: Applies the effect backwards from the park position.
Select the number of frames you want for your transition to take effect from the Length drop-down list.
If you prefer to work in Seconds click the drop-down arrow and change the selection.
Click the ‘Add’ button. The selected transition is applied to the audio tracks.