Clips

Applies to 2022.3 onwards

Free
Create
Pro

These are the files that will make up your sequence which link to the original media files. Clips can be moving images or just music/sound. They appear in filters and bins and can be viewed, marked and used for editing.


Opening a Tile in a Viewer

Although clips can be played directly from a Bin it is sometimes more helpful to view them at a bigger size. All clips can be opened in a viewer and played. 

1

Make sure the Edit or Assemble tab are selected.

2

To open a clip into the source viewer, do one of the following:

  1. Double-click on the clip thumbnail image.
  2. Click on the clip thumbnail image and drag it onto the source viewer.
Opening Tile to Viewer
3

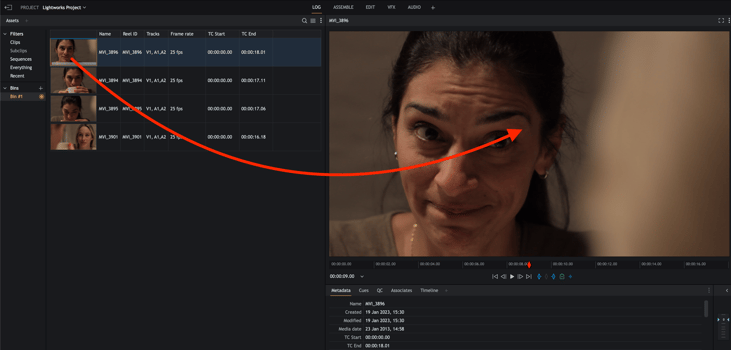
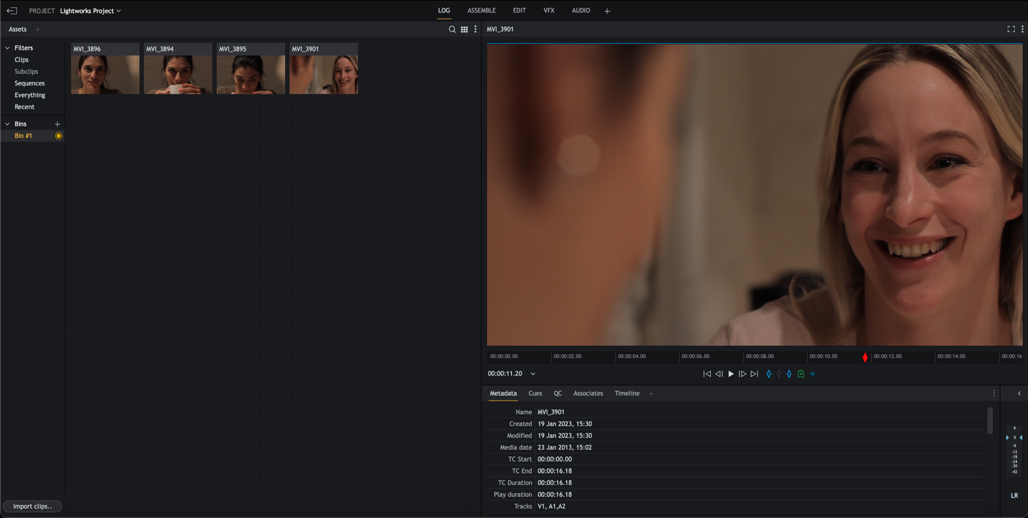
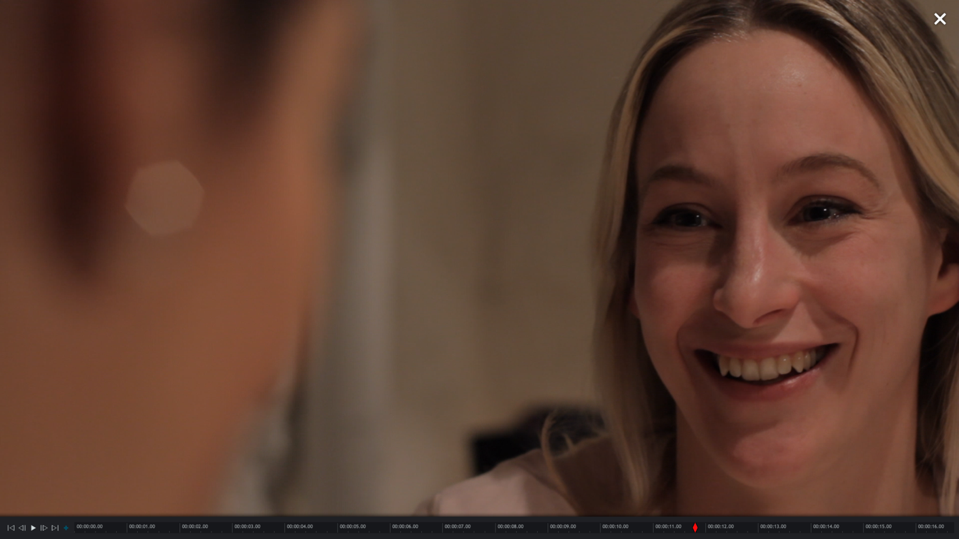
The selected clip opens in the source viewer.

4

The name of the clip displays at the top of the viewer, along with a blue line indicating it is the source.

5

The right and left ends of the timecode ruler represent the start and end of the clip.

6

To open another clip in the same Viewer, repeat step 2.

Playback in a Viewer

image40

1

Open a clip in the viewer

2

Play the material by clicking the ‘Play’ icon on the viewer. This will turn to a ‘Stop’ icon during playback. Holding down the SHIFT key and then pressing the Play button on the viewer will play the clip in reverse.

3

To move through the material, click and drag the red timeline marker in the timecode ruler to where you want.

4

To jump to a new position, click the mouse in the timecode ruler at the position you want to jump to.

5

The footage can also be played using the spacebar or J, K and L keyboard shortcut keys shown below:

  • To play forwards at normal speed press ‘L’.
  • To play forwards faster, press ‘L’ and ‘L’ again.
  • To play forwards one frame at a time press and hold ‘K’ and tap the ‘K’ key.
  • To stop playback at any time press ‘K’
  • To play backwards at normal speed press ‘J’.
  • To play backwards faster, press ‘J’ and ‘J’ again.
  • To play backwards one frame at a time press and hold ‘K’ and tap the ‘J’ key.

Displaying Full-Screen Video

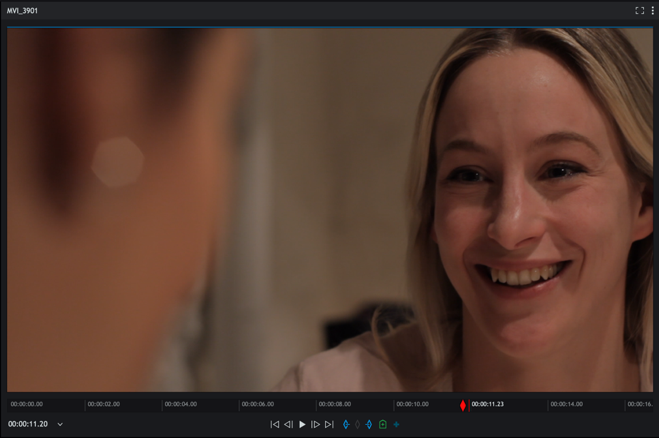
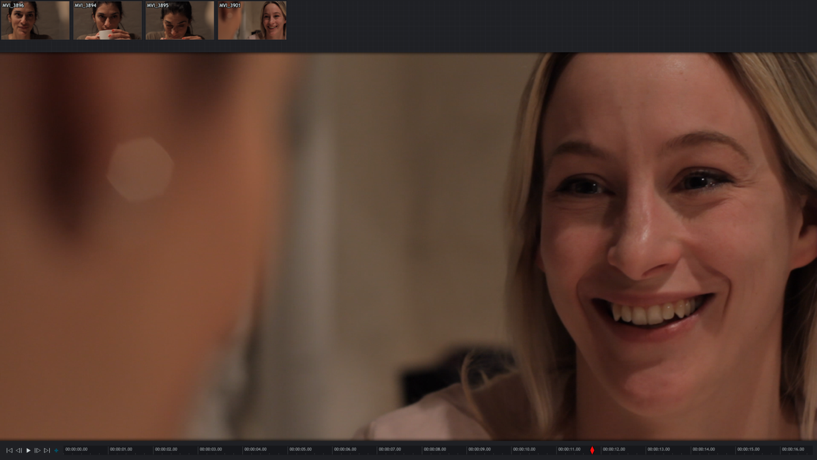
We recommend using two or more monitors so that the full-screen display does not obscure the user interface. If you have dual monitors, only the extended display is used for full-screen display. It is recommended that both displays are of the same resolution.

image43

1

Do one of the following:

  • Press the Toggle Full Screen shortcut key.
  • Double-click on the image in the source viewer
2

The viewer/edit displays in full size on the monitor, complete with playback/marker controls and scrub bar.

3

Move your mouse onto the full-screen image to reveal the playback and marker controls, and scrub bar.

4

Use the playback and marker controls to move through the clip and to add marks.

5

Use the timecode ruler to move backwards and forwards through the clip.

6

To close full-screen mode, press the Toggle Full Screen shortcut key again or double-click the image.

7

You can also close the full screen mode by clicking the Exit Full Screen ‘X’ icon in the top right hand corner.

Default Shortcut: F12 = Toggle Full Screen

Loading a Clip in Full-Screen Mode

image45


1

While in full-screen mode, move your mouse to the top of the screen until a bin drop-down menu opens.

2

Use the scroll bar top right to view more clips in the bin.

3

Click on the clip you want to load.

4

The selected clip displays in full-screen mode.

Note: There is no method for switching to a different Filter/Bin while in full-screen mode.

Finding Information about Clips

Information about Clips (Timecode, Dates, Name etc) is called metadata. This information can be found on the Metadata tab underneath a clip that has been loaded into a source viewer. Custom fields can be created to appear here, more information on adding custom metadata fields can be found in the Lightworks User Guide.


image47


1

Click on the Log tab to select it.

2

Click on the Metadata tab to select it.

3

Do one of the following:

  • Double-click on the thumbnail image of the clip you want to review.
  • Click on the clip thumbnail image and drag it onto the source viewer.
4

The clip loads into the source viewer.

5

The clip metadata displays below the viewer.

6

Some metadata fields are read-only, while others, such as Scene, Take, and Comments can be edited by typing directly into the metadata field.

Metadata can also be reviewed in the List View of Bins - see "Browsing the Content Manager."