Make sure you have the Log, Edit or Assemble tab selected.
Click on the ‘Import clips’ button.
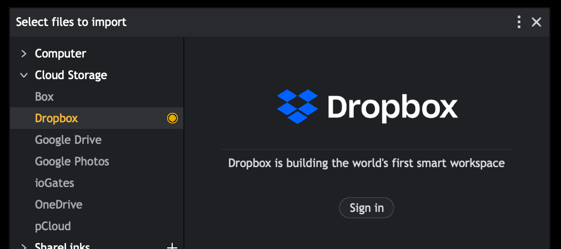
The Import panel will open.
Select the provider under ‘Cloud storage’ you wish to add and click ‘Sign in’.
The web browser on your system will open.
Enter the email address and password for your cloud provider and sign in.
If you do not have an account, you can register one.
Click ‘Allow’ to allow Lightworks access to your cloud provider.
An ‘Authorisation succeeded’ message will appear.
Close the web browser and return to Lightworks.
Make sure you have the Log, Edit or Assemble tab selected.
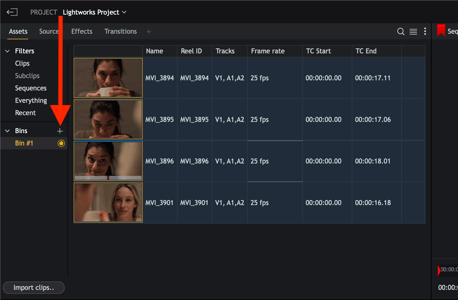
Select the ‘Clips’ Filter displayed under Filters in the Content List panel.
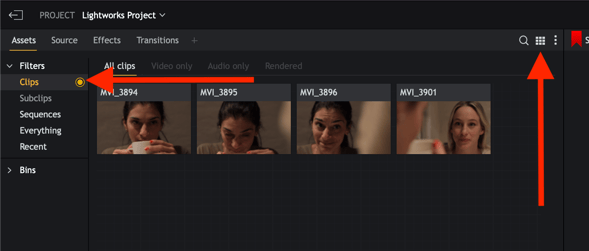
Results display in the main window.
Toggle between Tile and List views by clicking the View button. The Content Manager has two main display modes:
Tile View: Clips and Sequences display as thumbnails
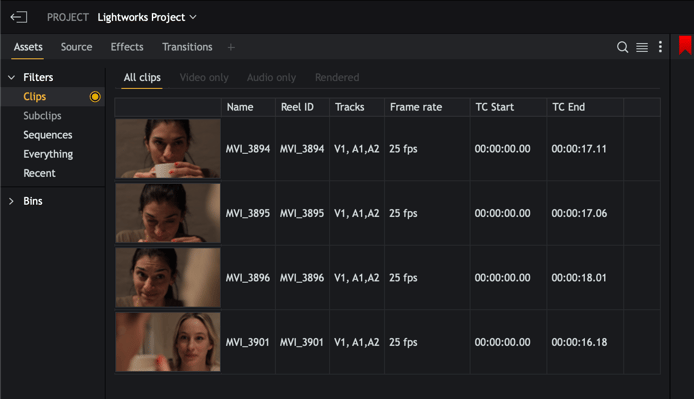
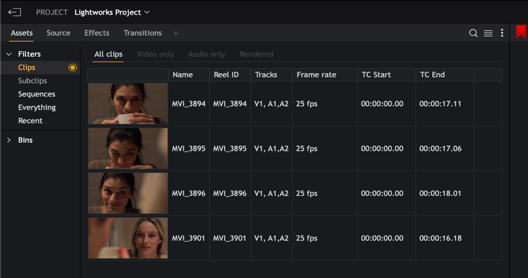
List View: Clips and Sequences display in a list format with relevant metadata and a smaller thumbnail to aid identification.
Filters are extremely useful for finding your content quickly and easily. They are active searches that always show the content that is available within them. They do not need to be refreshed, as they are always active within the project. The Filter names become active when there is content within them and inactive when they are empty.
To create a bin, do one of the following:
The new bin displays as an entry below ‘Bins’.
Type the name you want for your Bin directly into the text box and press Enter to confirm.
You can change the name of a Bin at any time. Simply double-click the Bin name.